Disclaimer:
- This article is LONG. What you’re about to do is complicated.
- Read the stuff between the screenshots. It’s mostly commented screenshots, really.
- Works for me ™. If it does not work for you, drop me an email or add a comment down below. I’ll answer within minutes, usually.
- I can’t be blamed.
- I can’t be sued.
- Use your brain. Try not to loose it, though.
- I was lazy when i wrote this, so you have GERMAN screenshots and ENGLISH text. Come on, you can do it. Usually I do it the other way around all day trying to translate Microsoft-English to sane German. You can figure stuff out by looking at the screenshots i guess. Just think Weißwurst and Sauerkraut.
This walkthrough is provided as a complete lab, that means i’lll be installing Windows, Linux, Installing an AD, a webserver and all of that stuff. If you already have that infrastructure in place (or bits & pieces of it), just skip the corresponding parts.
Here’s the table of contents:
- 1. Install Windows
- 2. Set up Active Directory
- 3. Install Linux
- 4. Install Apache + MariaDB
- 5. Install Nextcloud
- 6. Install the Nextcloud SAML / SSO Plugin
- 7. DoNutS & SSaLt
- 8. Install Install AD FS
- 9. Configure AD FS
- 10. Configure Nextcloud for AD FS Authentication
Step 1: Install Windows
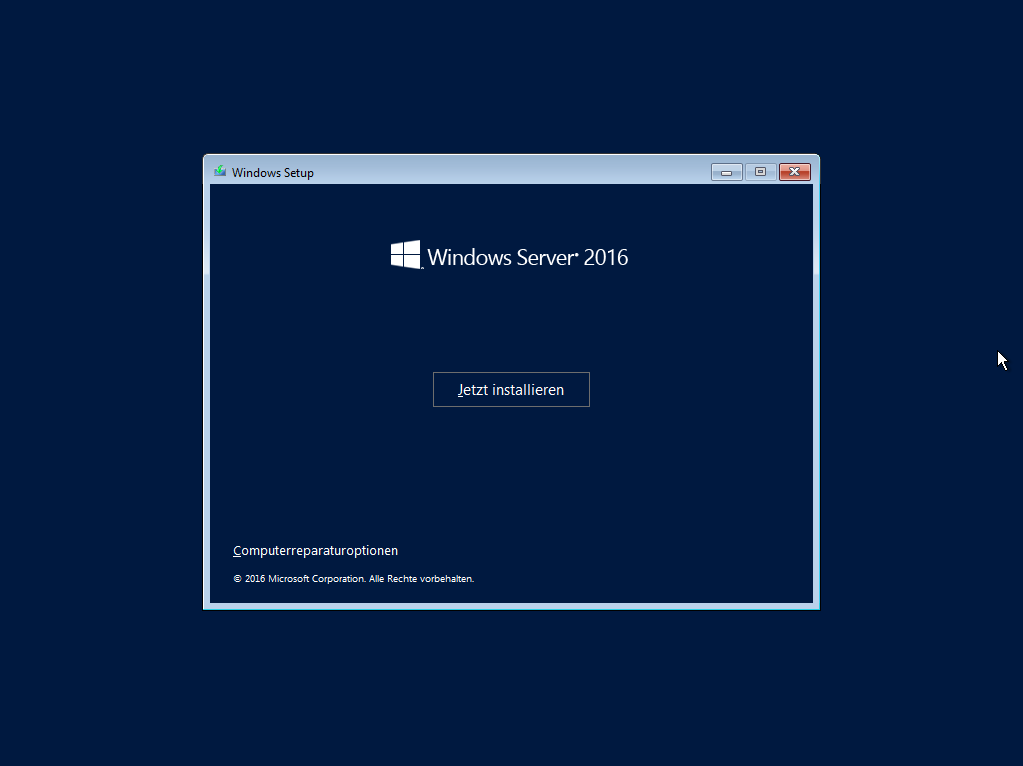
Duh. obviously. I use Windows Server 2016, you might use a different version on your own risk, or you already have it in place, whatever.
Step 2: Set up Active Directory
So you need at least one domain contoller running, obviously. Just for this example lab, i’ll set one up named dc01.testdomain.local.
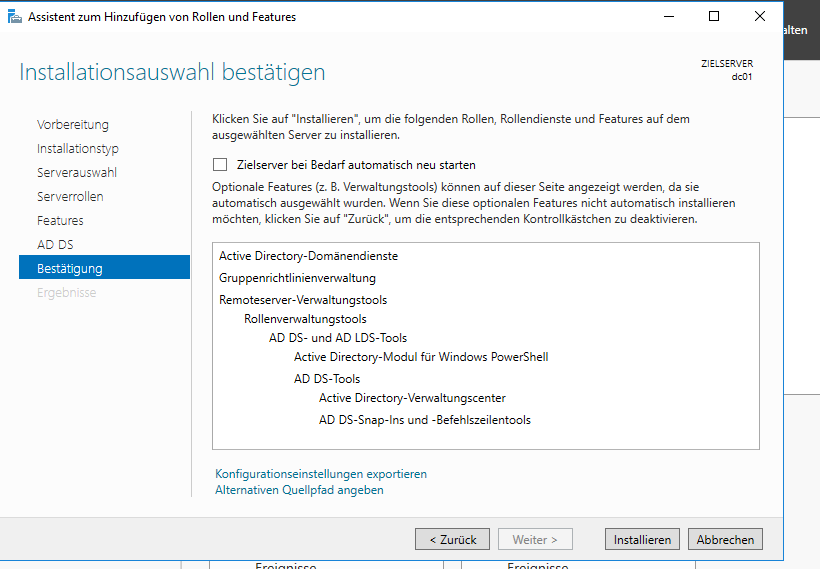
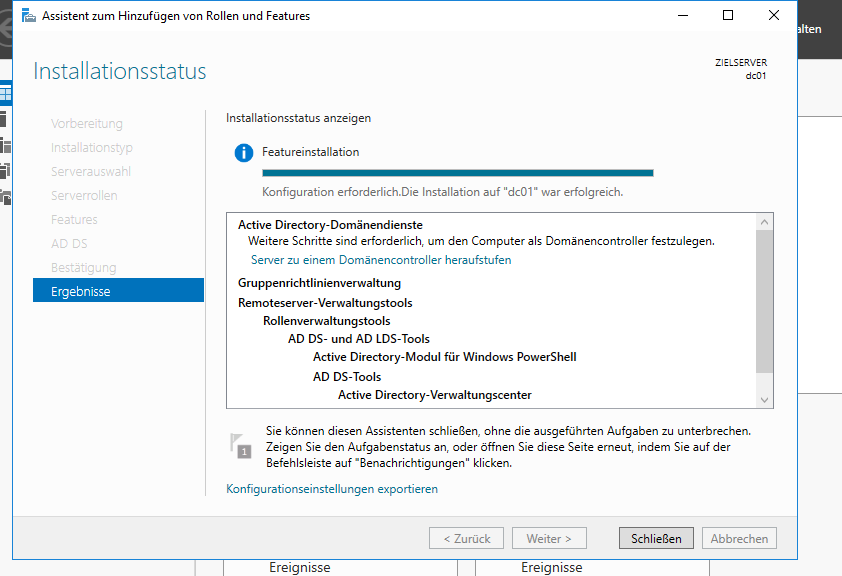
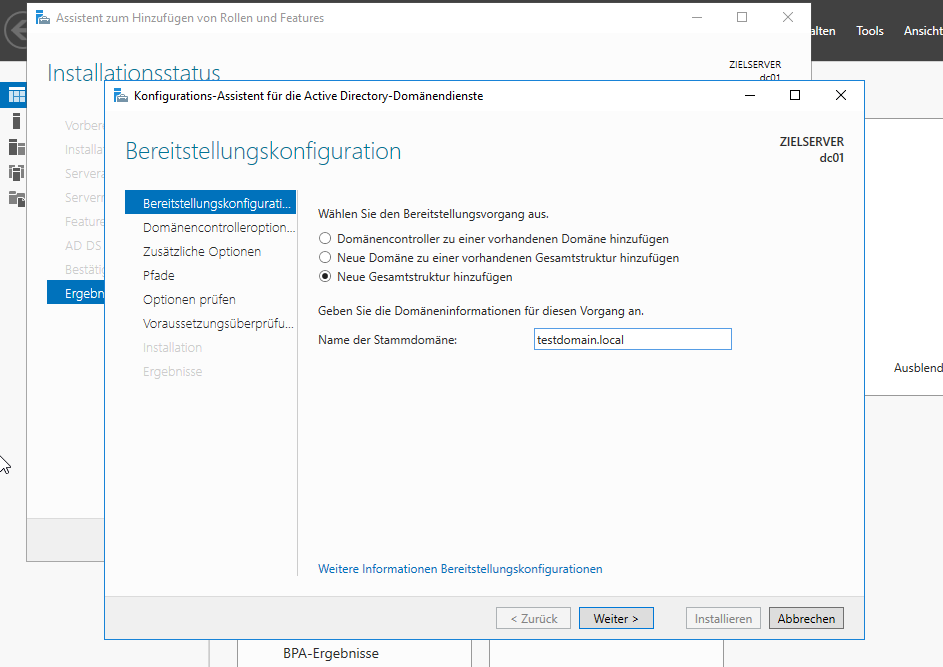
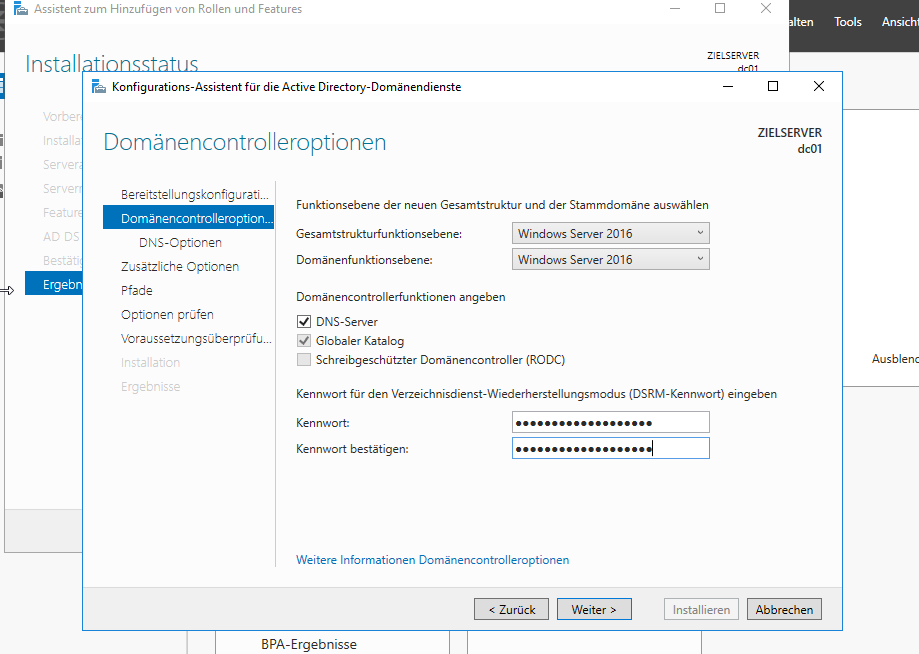
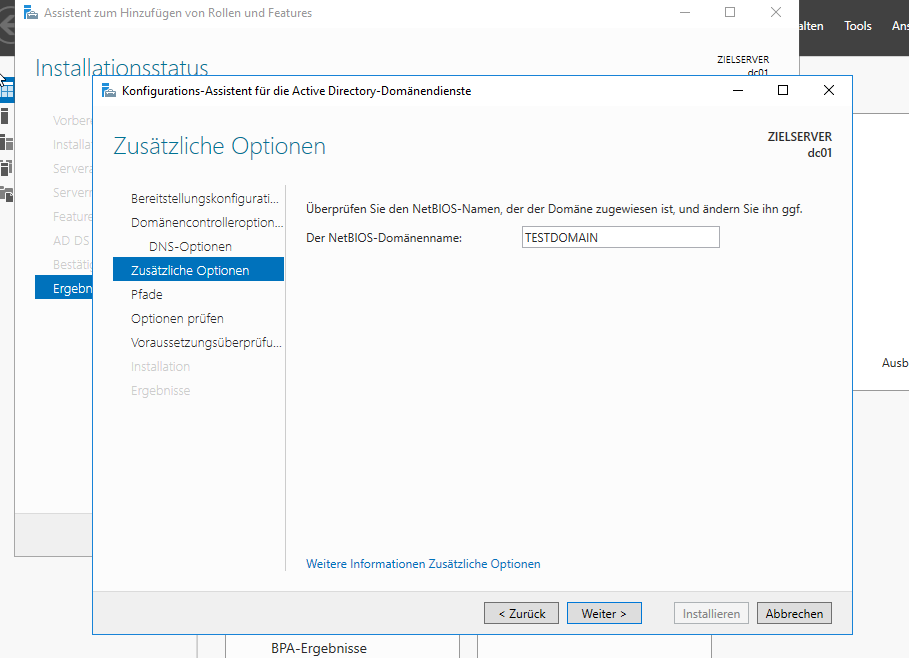
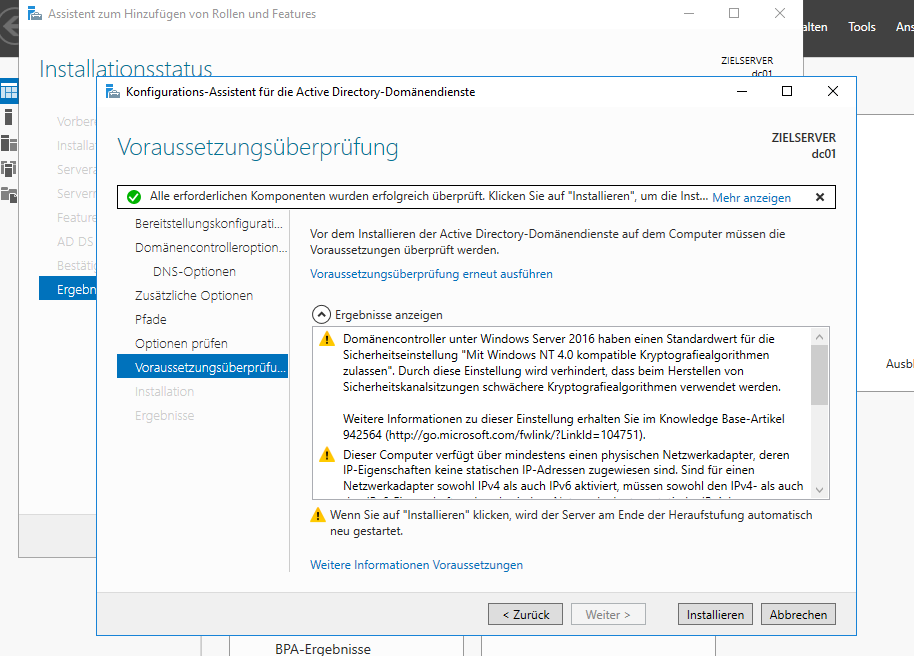
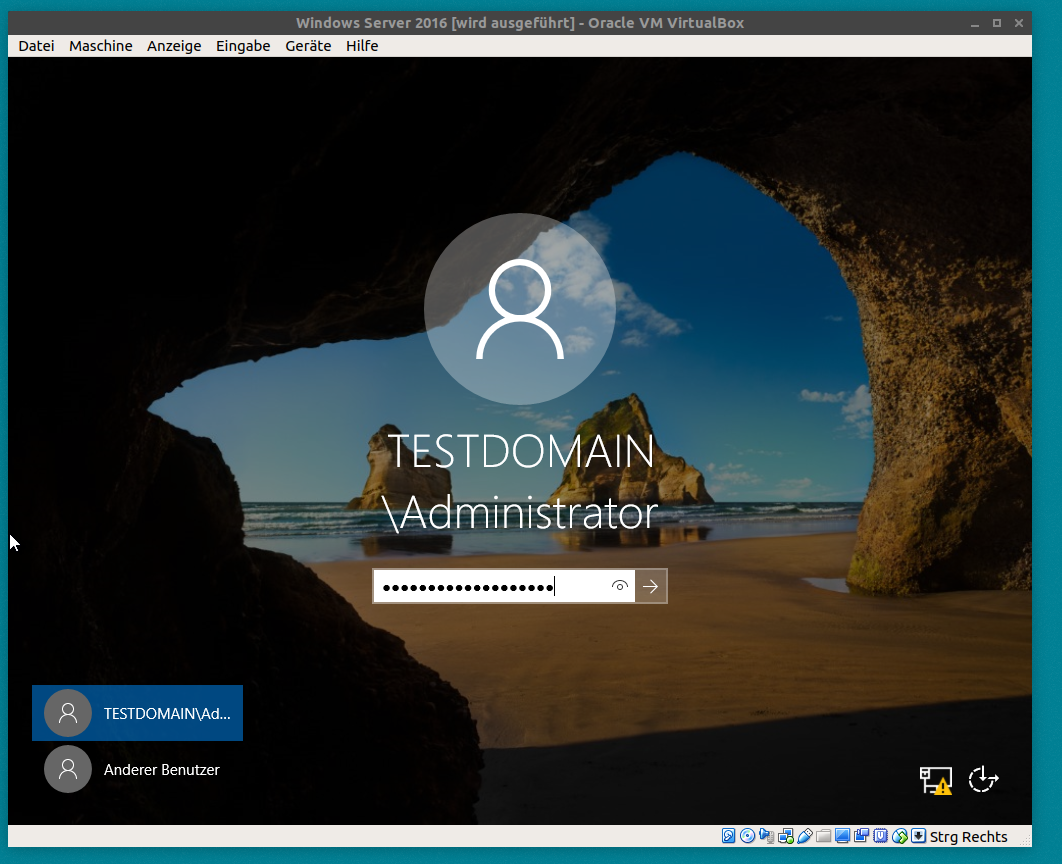
Head over to the Server Manager, add the „Active Directory Domain Services“ Role, install it and configure your domain, then reboot. You should have a working Acrive Directory with one domain now. Just for reference i added some screenshots here, in case this REALLY is your first time setting up a domain. Good luck, in that case… 🙂
Oh and by the way, you notice the screenshots are in German, because that’s my native language. Go learn it while Windows installs all the updates. It’s fun.
If there’s a screenshot missing, I probably just clicked next without changing anything, and so should you.
After the installation finishes, the server reboots automatically without prompting. Oh, well.
Step 3: Install Linux
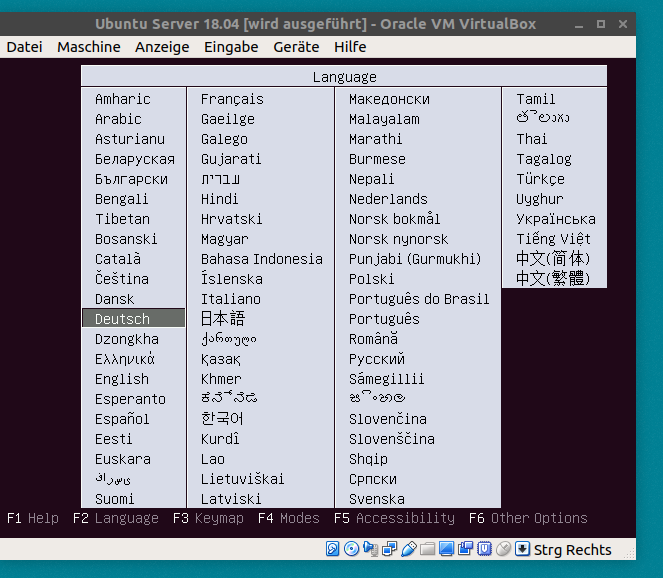
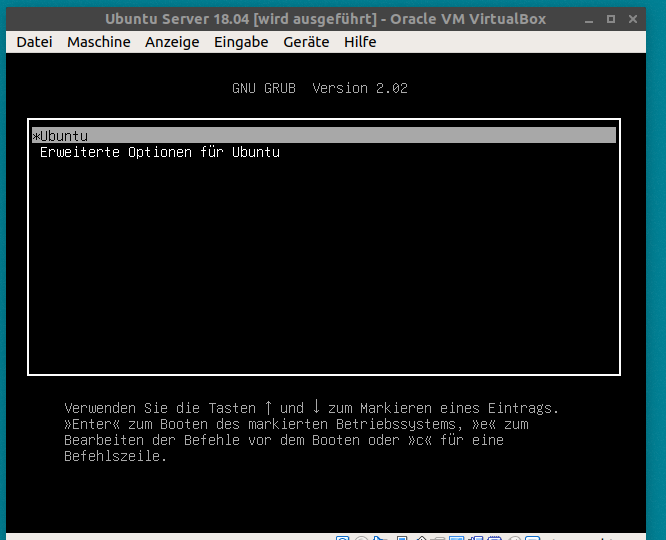
Yay, fun, Linux! I use Ubuntu 18.04 „bionic“ Server just to have all the hipster stuff in place. 18.04 is not even a stable release at the time i’m writing this.
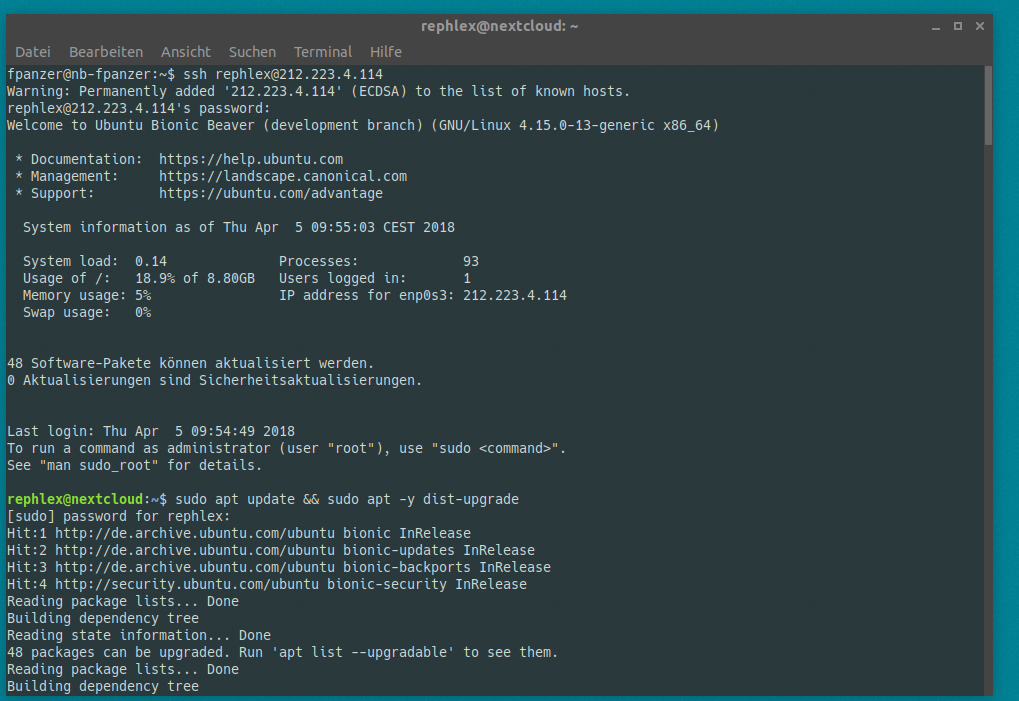
Look, finished already. Of course you want to do all the updates.
rephlex@nextcloud:~$ sudo apt update && sudo apt -y dist-upgrade
[…]
done 😉
Step 4: Install Apache + MariaDB
First and foremost, we need a webserver.
rephlex@nextcloud:~$ sudo apt -y install php-mbstring php php-zip php-xml php-common php-gd php-curl apache2
Second, database server.
rephlex@nextcloud:~$ sudo apt -y install mariadb-server
We now configure our database server …
rephlex@nextcloud:~$ sudo mysql_secure_installation
[…]
Enter current password for root (enter for none):
OK, successfully used password, moving on…Setting the root password ensures that nobody can log into the MariaDB
root user without the proper authorisation.Set root password? [Y/n] Y
New password:
Re-enter new password:
Password updated successfully!
Reloading privilege tables..
… Success![…]
Remove anonymous users? [Y/n] Y
… Success!Normally, root should only be allowed to connect from ‚localhost‘. This
ensures that someone cannot guess at the root password from the network.Disallow root login remotely? [Y/n] Y
… Success!By default, MariaDB comes with a database named ‚test‘ that anyone can
access. This is also intended only for testing, and should be removed
before moving into a production environment.Remove test database and access to it? [Y/n] Y
– Dropping test database…
… Success!
– Removing privileges on test database…
… Success!Reloading the privilege tables will ensure that all changes made so far
will take effect immediately.Reload privilege tables now? [Y/n] Y
… Success!Cleaning up…
All done! If you’ve completed all of the above steps, your MariaDB
installation should now be secure.Thanks for using MariaDB!
rephlex@nextcloud:~$
For demonstration purposes, we’ll use PHP as Apache Module (though fpm would be preferred, but that’s out of scope here).
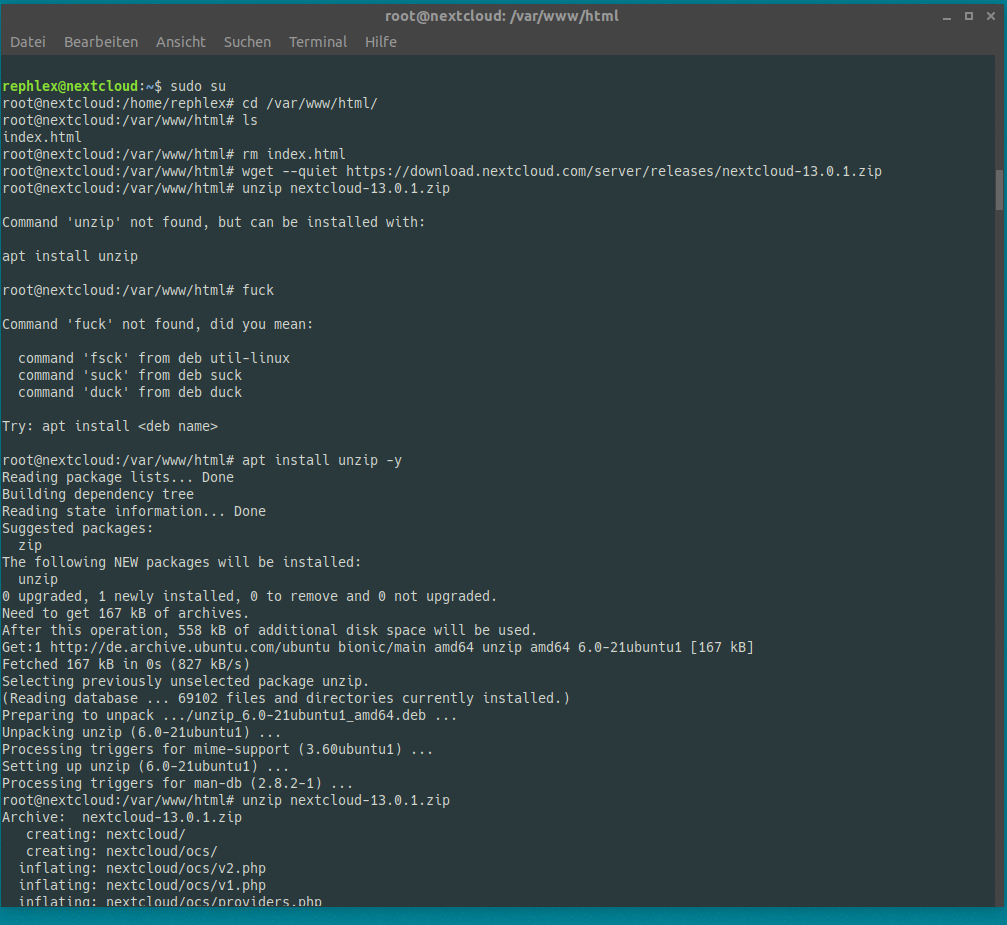
Step 5: Install Nextcloud
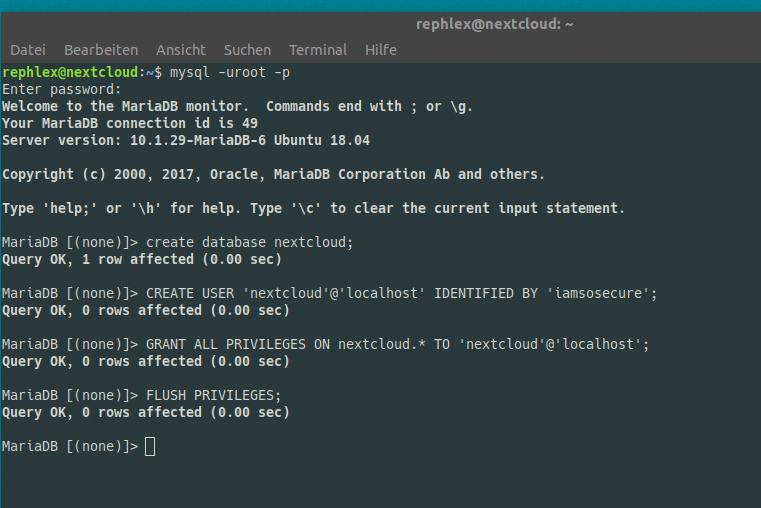
We need to connect to our database server and create a new database schema and a user.
Next, head over to https://nextcloud.com/install/#instructions-server and download the latest zip/tgz archive to your webserver root, we’ll just use /var/www/html.
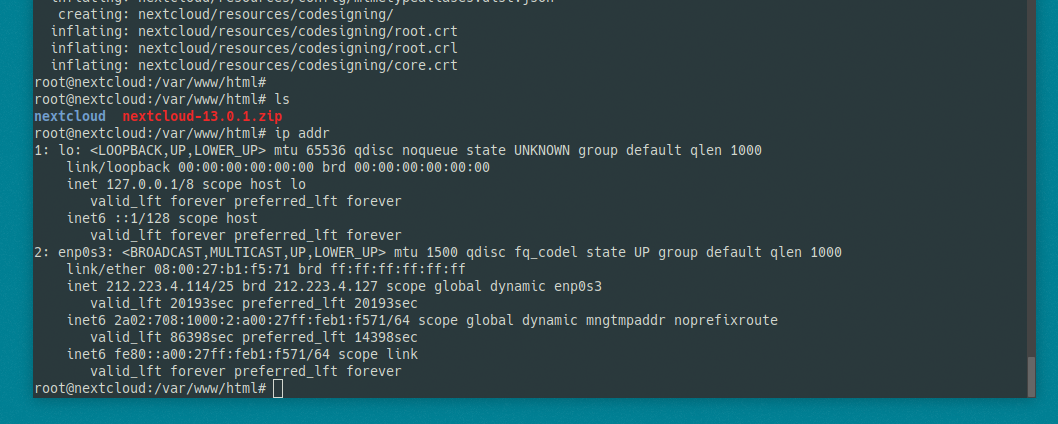
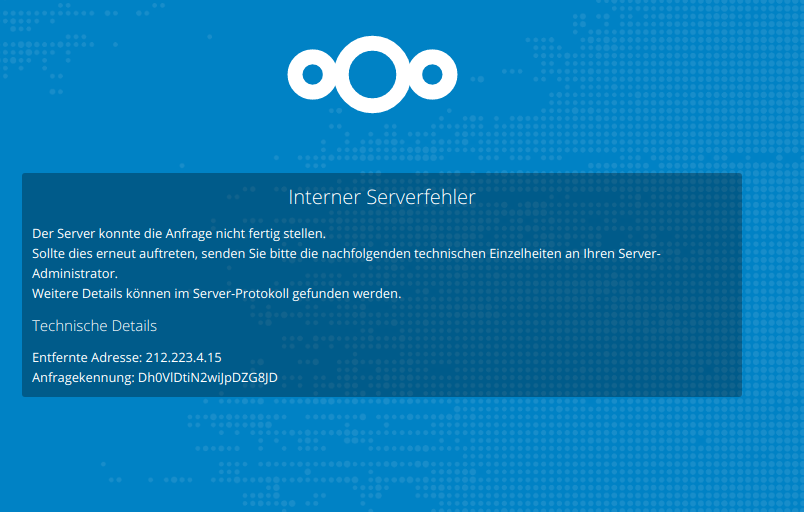
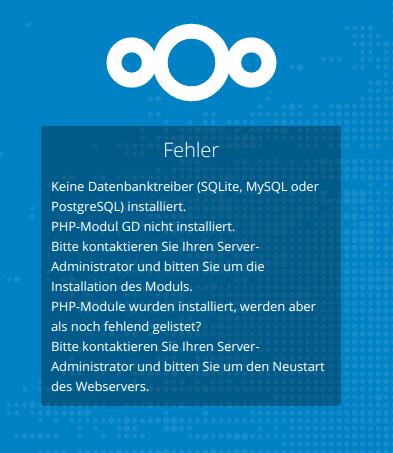
Alright. Now head over to your web browser, and browse dat b*tch using the IP address: http://1.2.3.4/nextcloud/ in this case. Nextcloud will tell you to go away.
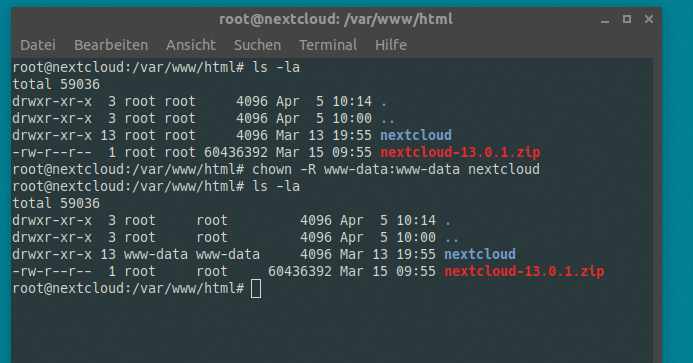
Try giving all your owncloud files to the webserver. As a present for the webserver gods, you know!?
Refresh your web browser. Looks better.
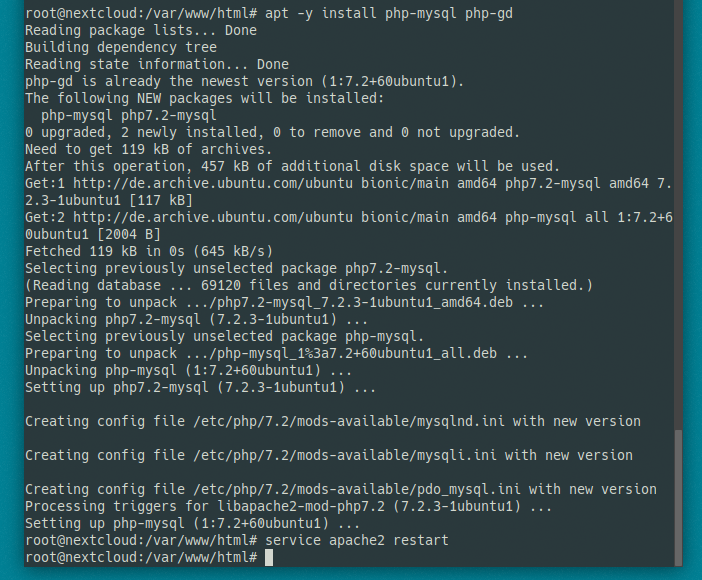
We can fix that by installing php-mysql and php-gd. Note, we have to restart apache afterwards. If you’re running FPM, you have to restart FPM, but you’re experienced enough so I don’t have to tell you.
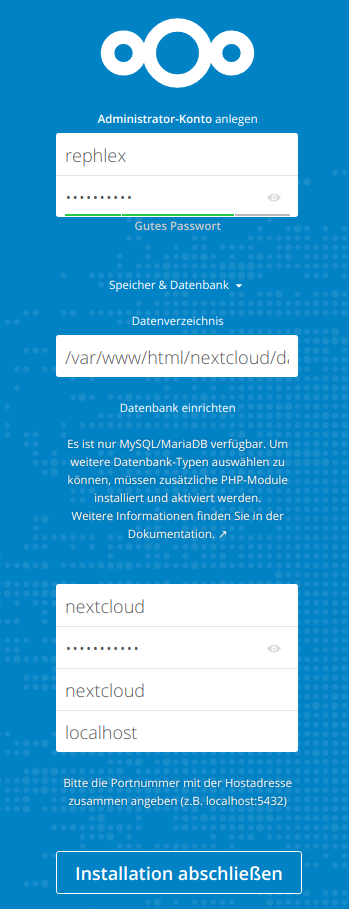
Now refresh again and finish the configuration.
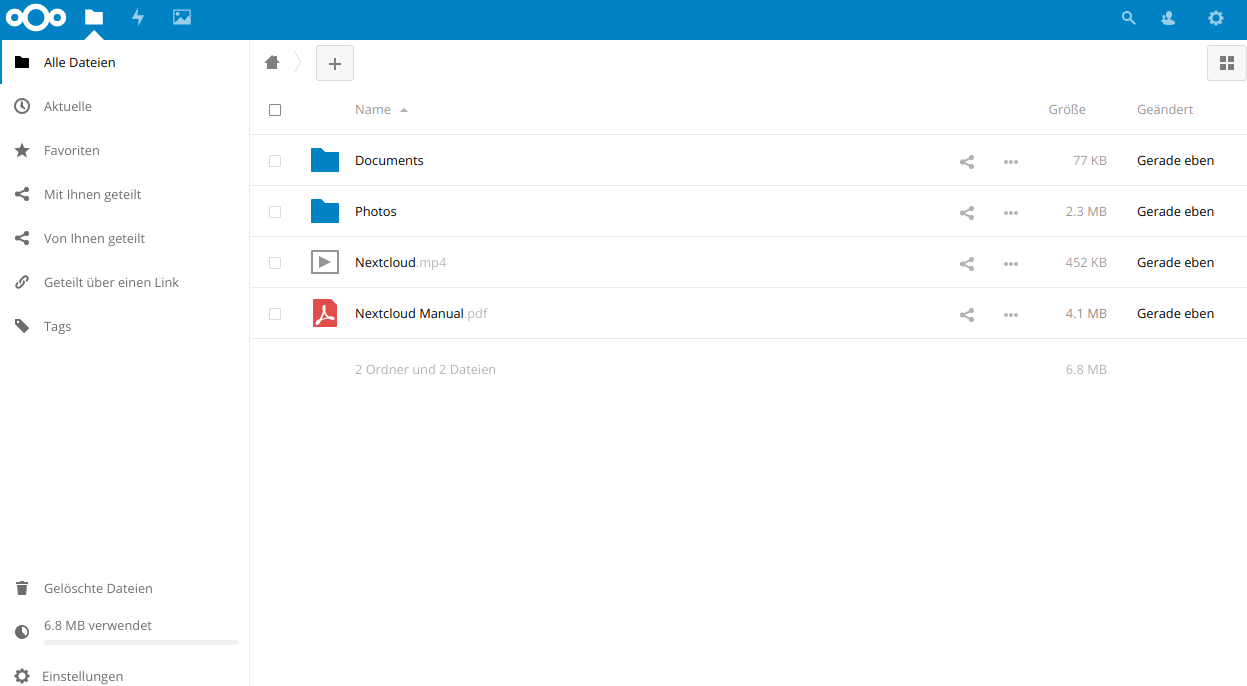
Yay, nextcloud!
Step 6: Install the Nextcloud SAML / SSO Plugin
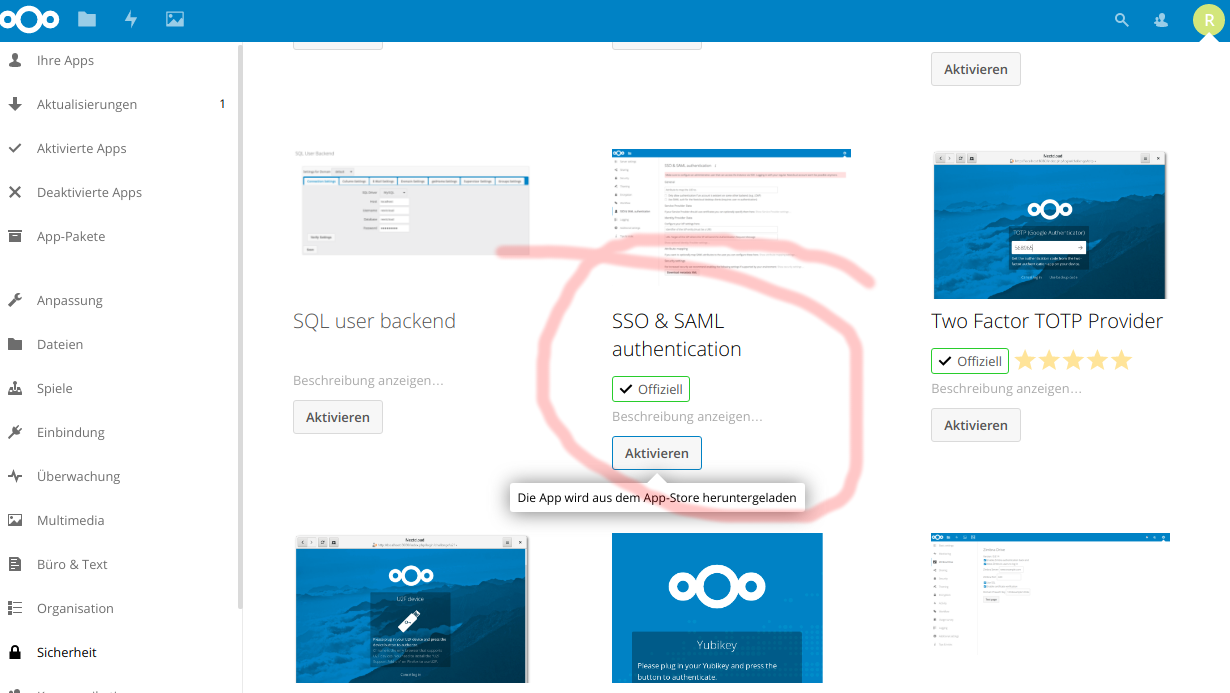
Go to „apps“, „Security“ and install the „SSO & SAML authentication“ official app. Refer to the screenshot below:
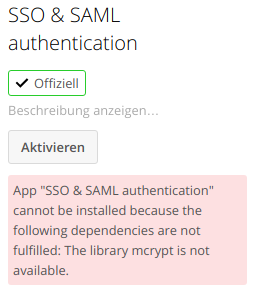
Oh, wait….
Meh.
MEH! WHAT THE…!
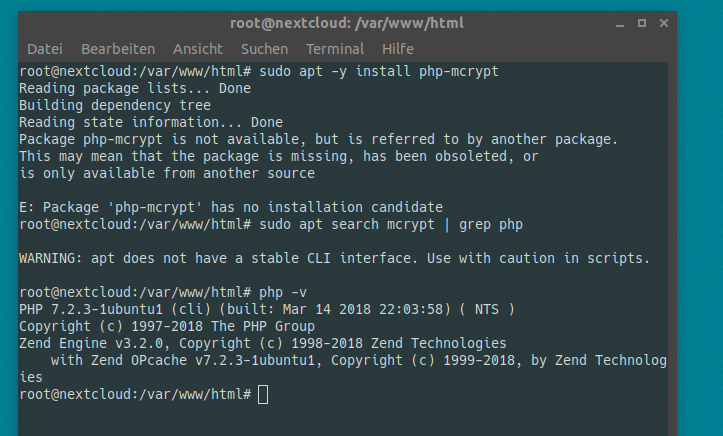
Turns out, php 7.2 has no mcrypt built in anymore because f*ck you. Oh well.
# AS ROOT USER, run:
apt-get -y install gcc make autoconf libc-dev pkg-config libmcrypt-dev php-pear php-dev
pecl install –nodeps mcrypt-snapshot
When asked
libmcrypt prefix? [autodetect] :
just press return. When pecl is finished, it’ll tell you to add „extension=mcrypt.so“ to php ini. In Ubuntu 18.04, We run:
echo „extension=mcrypt.so“ > /etc/php/7.2/mods-available/mcrypt.ini
ln -s /etc/php/7.2/mods-available/mcrypt.ini /etc/php/7.2/apache2/conf.d/20-mcrypt.ini
ln -s /etc/php/7.2/mods-available/mcrypt.ini /etc/php/7.2/cli/conf.d/20-mcrypt.ini
service apache2 restart
Again, if you’re running FPM you know how to put the module in place and have to do something different.
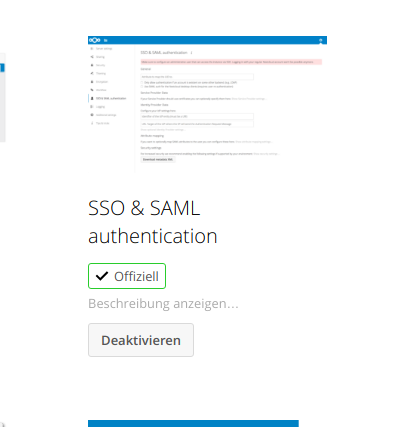
Now, try to install the nextcloud extension again. Seems to work:
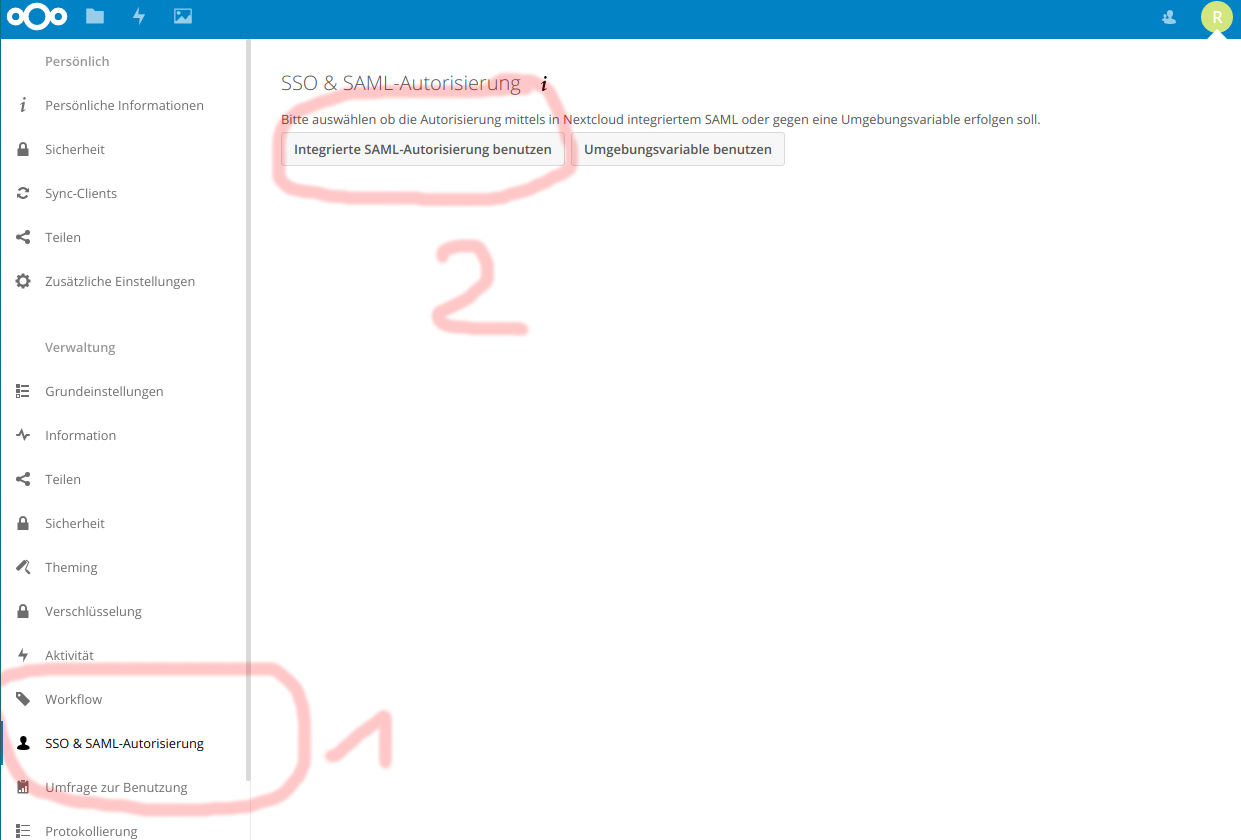
Now, go to Nextcloud Settings -> SSO & SAML Authentication, and select the INTEGRATED SAML thingie.
Done!
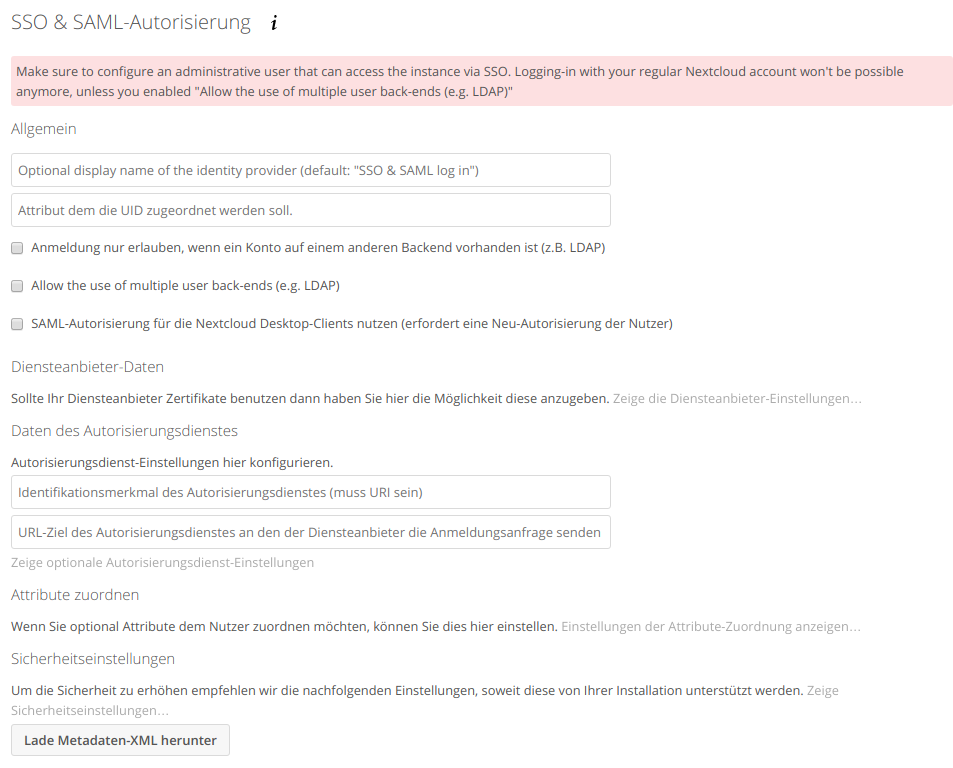
We’ll leave the next window empty for now, but we’ll have to return here later.
Step 7: Give your Nextcloud Server a name and add some SS(a)L(t)!
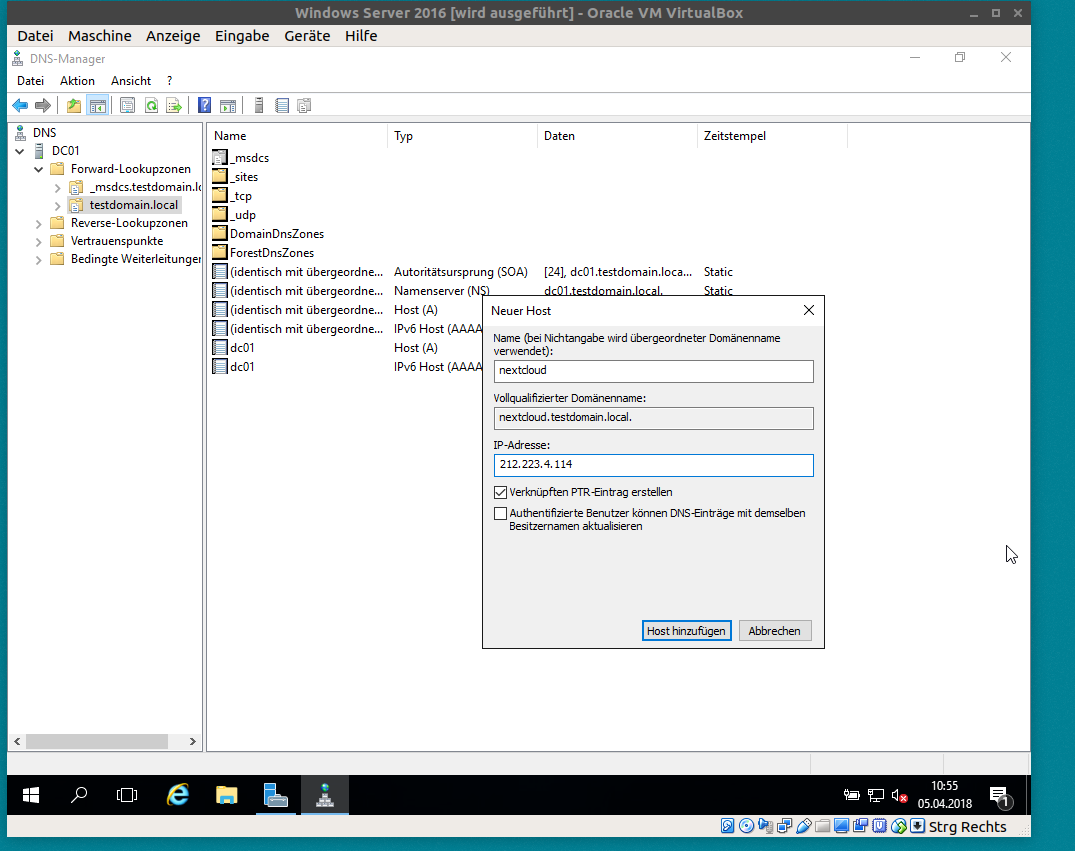
It is MANDAORY to have a qualified name for your nextcloud instance. Either you’re running a FQDN that is globally valid in the „true“ DNS, or you’re adding a fake local DNS A-Record as shown here:
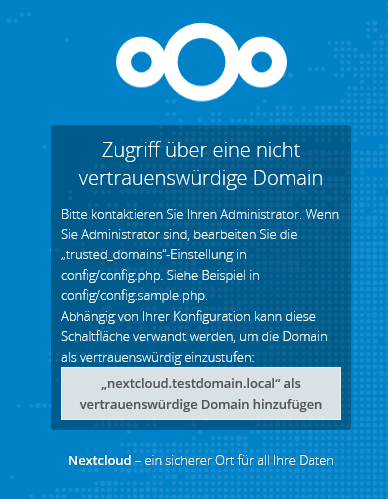
Now, open the nextcloud landing page by *using* that name, you’ll see that it refuses.
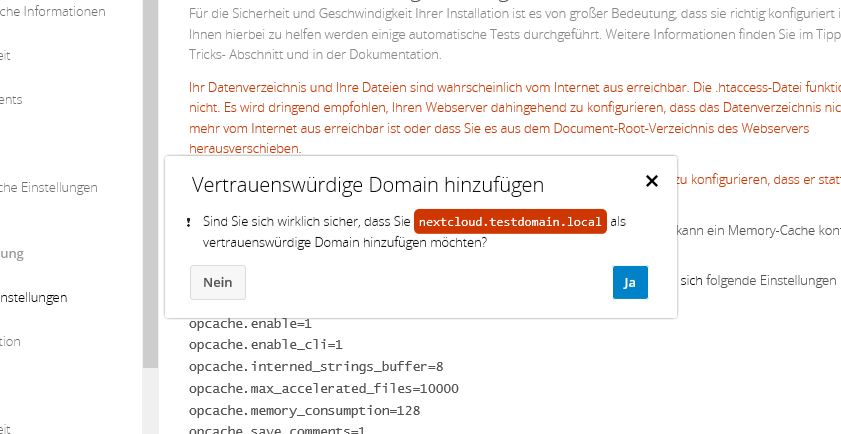
click „add trusted domain“ and choose yes.
Next, we need SSL. Configure that yourself, for demo i’ll just run
a2enmod ssl ; a2ensite default-ssl ; service apache2 restart
Because i’m lazy. Now we can „securely“ access nextcloud at https://nextcloud.testdomain.local/nextcloud
Step 8: Install AD FS
Now here’s the fun part.
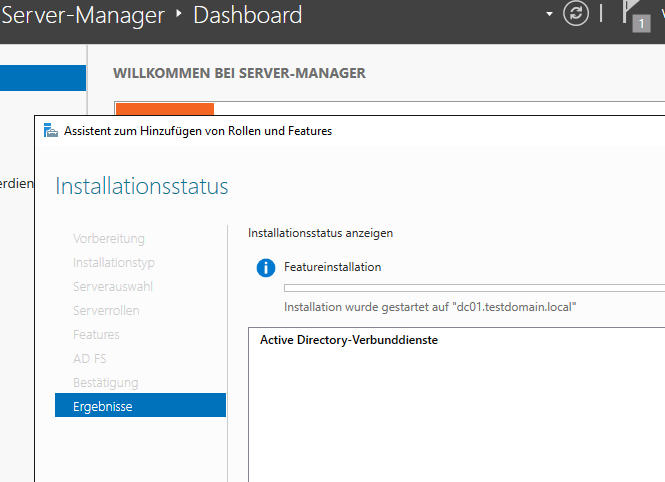
Server Manager -> Add Roles & Features -> Active Directory Federation Services (AD FS). Do it.
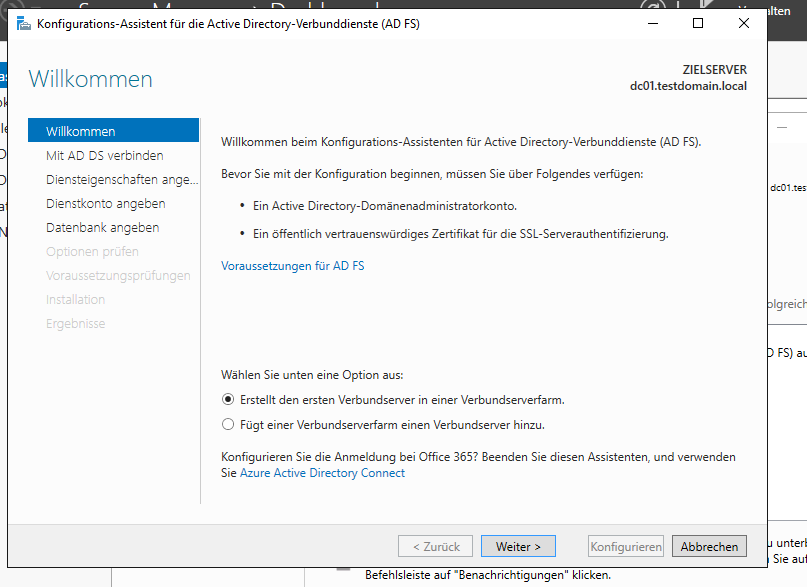
When it’s done installing stuff, you can immediately start configuring the role.
Start a new farm by installing the first server in a federation server farm. Farm farm farm.
Click next, leave Administrator in there.
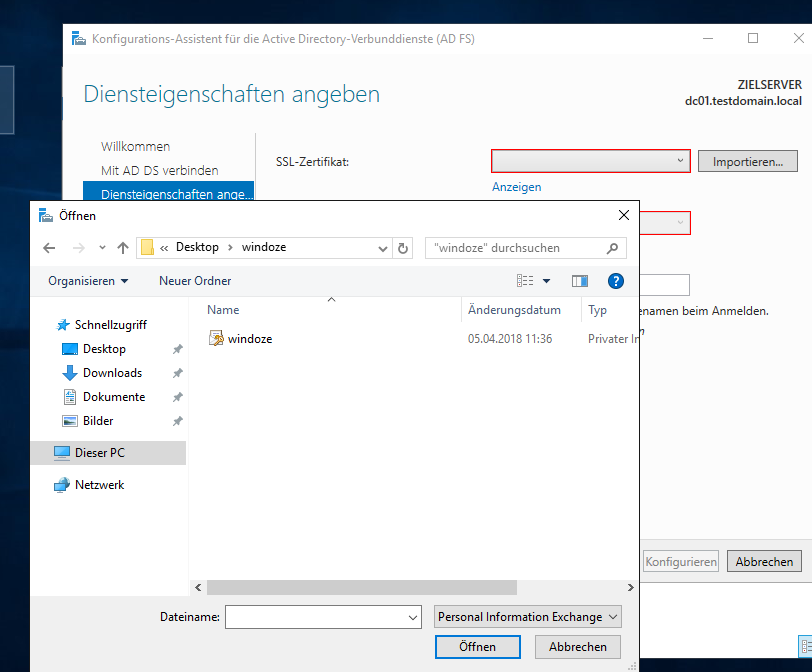
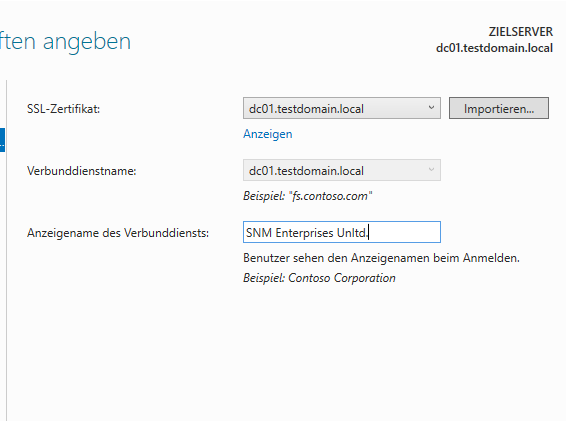
Now you need an ssl certificate for your AD FS machine (CN: dc01.testdomain.local). You CAN buy a comodo (or other) certificate IF your AD FS server has a PUBLICLY accessible name. You HAVE TO roll your own when you run a local domain, we do in this demo, and you probably also do, so we have two choices at this point.
Choice A:
- Install Microsoft Certificate Service Role
- request a certificate from the IIS console (IIS is a prerequisite for the CA role anyways..)
- sign the request using your own CA
- complete signing request in IIS
- install the certificate
Choice B:
- be cool
- Save time and money
- use linux
OBVIOUS.
Head over to your linux machine and create a cert and a key.
Now we need to merge the key and cert into a pfx that Windows can read.
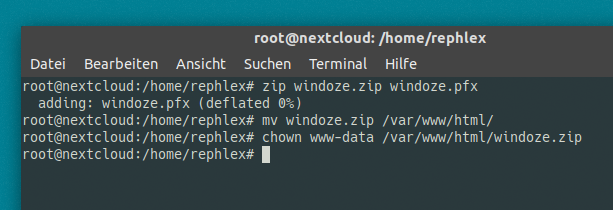
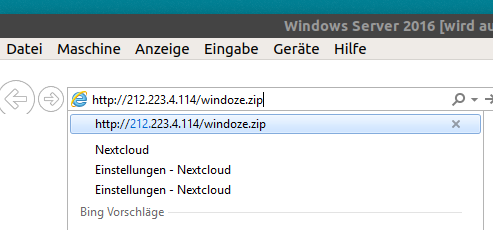
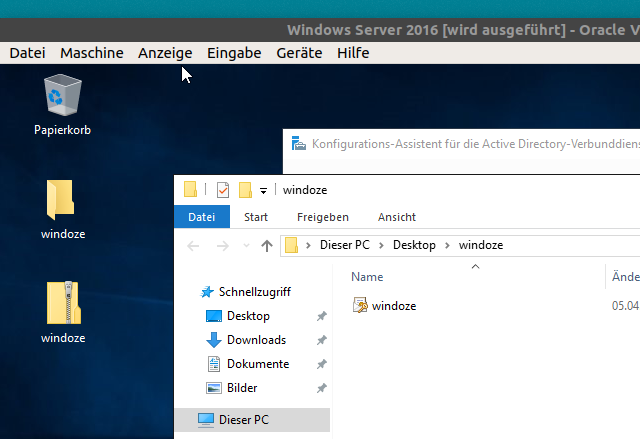
Transfer the windoze.pfx over to your Windows box. I’ll just do it like so:
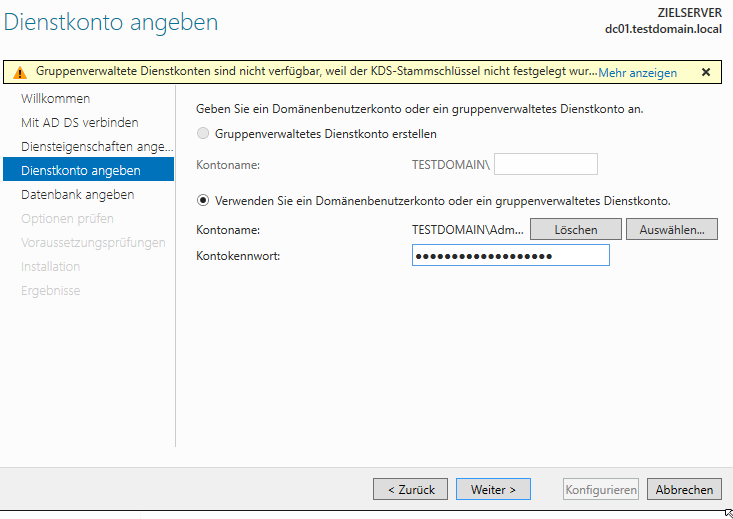
Next we have to define a service account. I run as Administrator because I can.
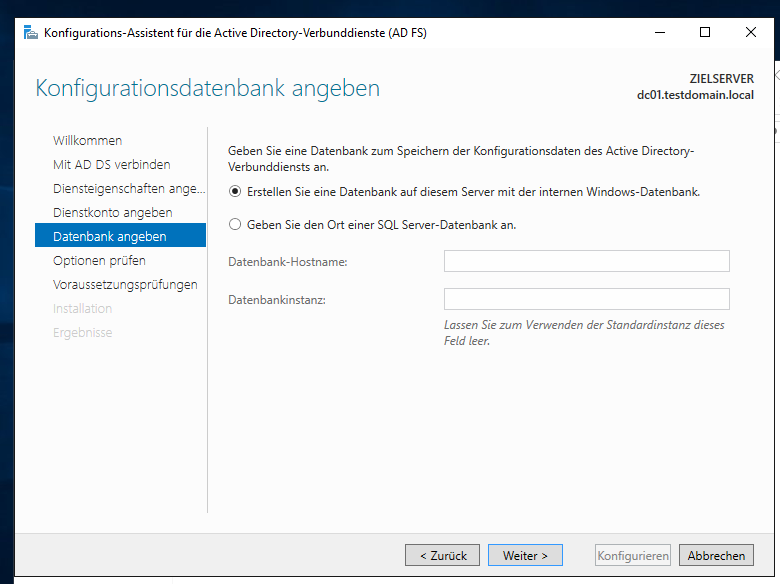
Next step. Don’t panic! You don’t need to install MSSQL now. Use Internal Database, works just as good unless you have a freakin‘ lot of users.
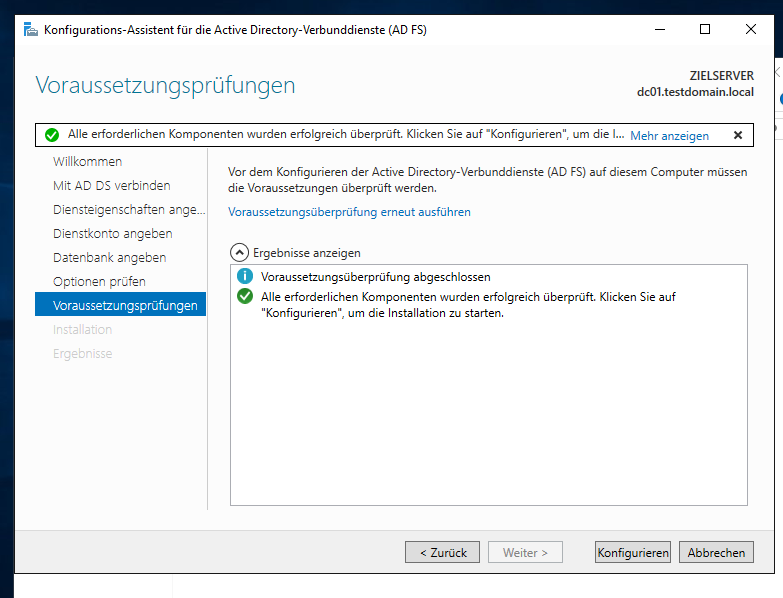
Now be proud of yourself and finish the wizard by just clicking next a bunch of times.
Step 9: Configure AD FS
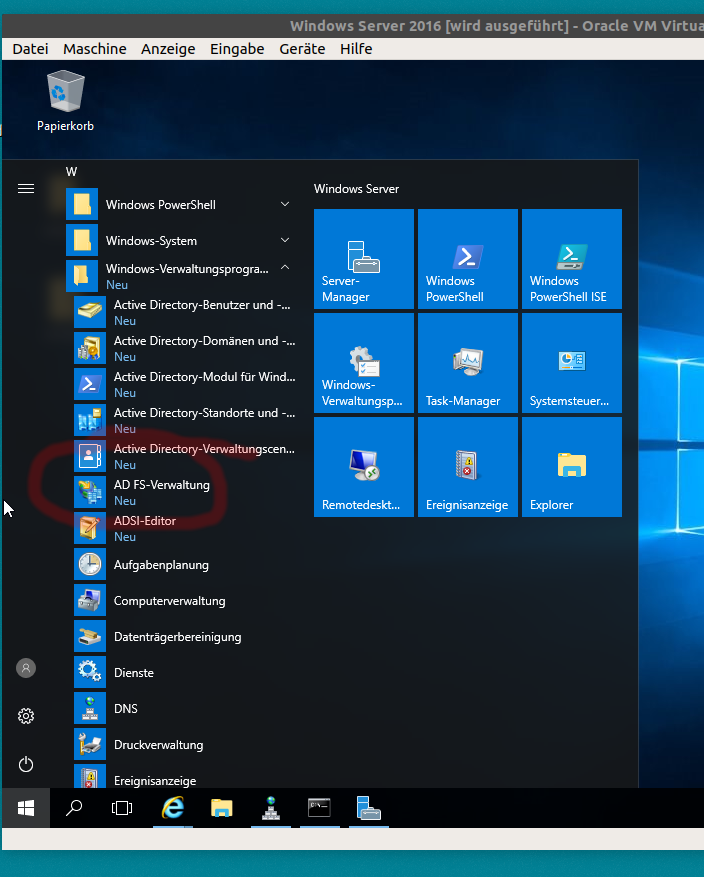
Now you should see the AD FS Configuration Console in your Start Menu. Go ahead and launch it.
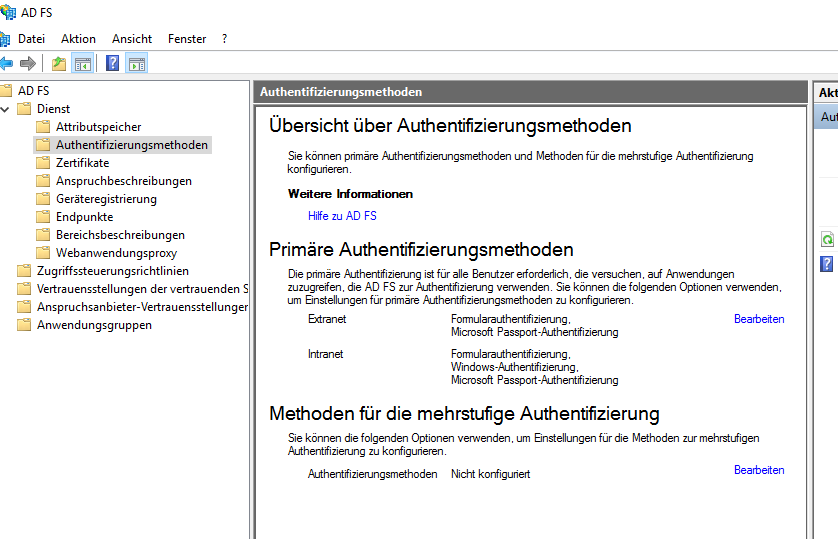
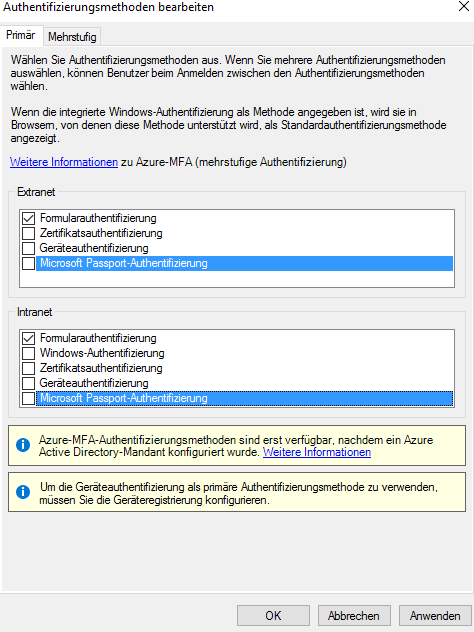
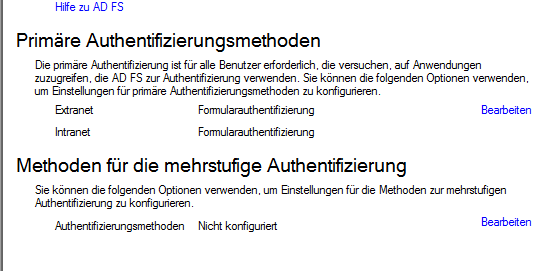
First, head to Auth mechanisms and disable everything except for Forms Auth.
That looks better. Now, look at your endpoints and make sure you have the one in blue and it’s enabled:
Now, we add a Relying Party Trust using the powershell.
Add-AdfsRelyingPartyTrust -Name nextcloud -Identifier nextcloud -ProtocolProfile SAML
Set-AdfsRelyingPartyTrust -Targetname nextcloud -EncryptionCertificateRevocationCheck none -SigningCertificateRevocationCheck none
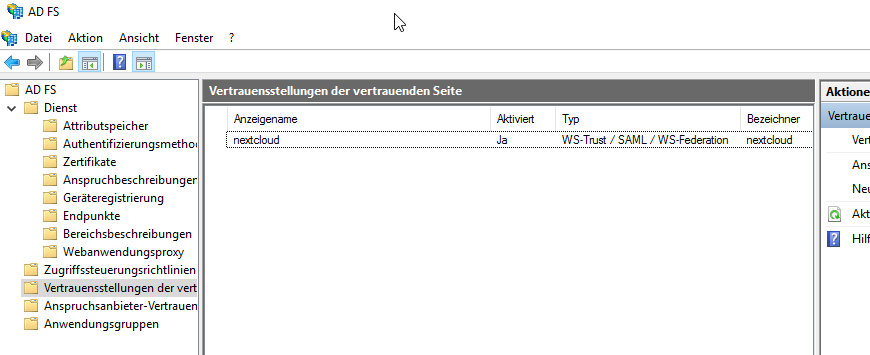
The Relying Party Trust can now be seen in the graphical console. We need to edit it by double-clicking on it.
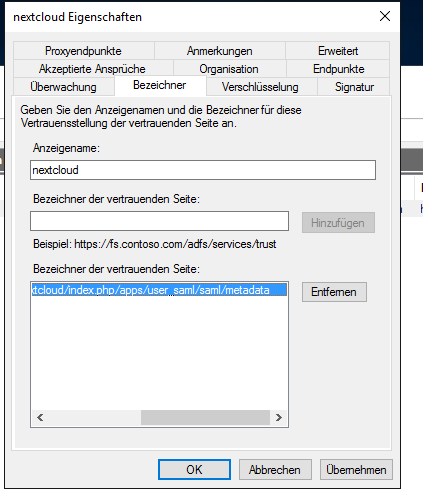
Important things to set are the ENDPOINT and the IDENTIFIER.
First, we set the Identifier to
https://nextcloud.testdomain.local/nextcloud/index.php/apps/user_saml/saml/metadata
Have a look at my screenshots. „Bezeichner“ is Identifier in German.
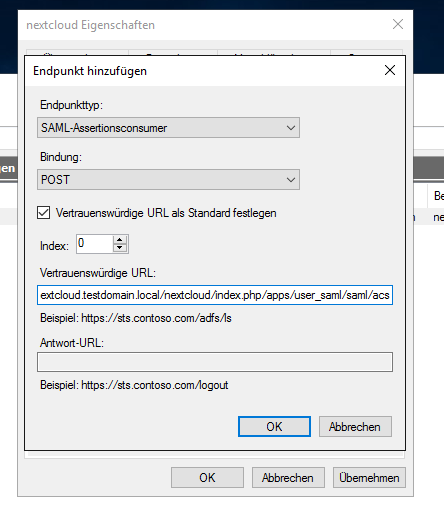
Next: Endpoints („Endpunkte“). Add a SAML Endpoint like so. The full string is
https://nextcloud.testdomain.local/nextcloud/index.php/apps/user_saml/saml/acs
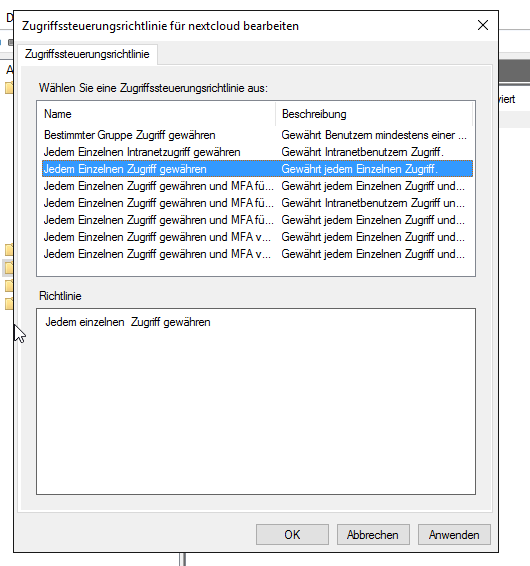
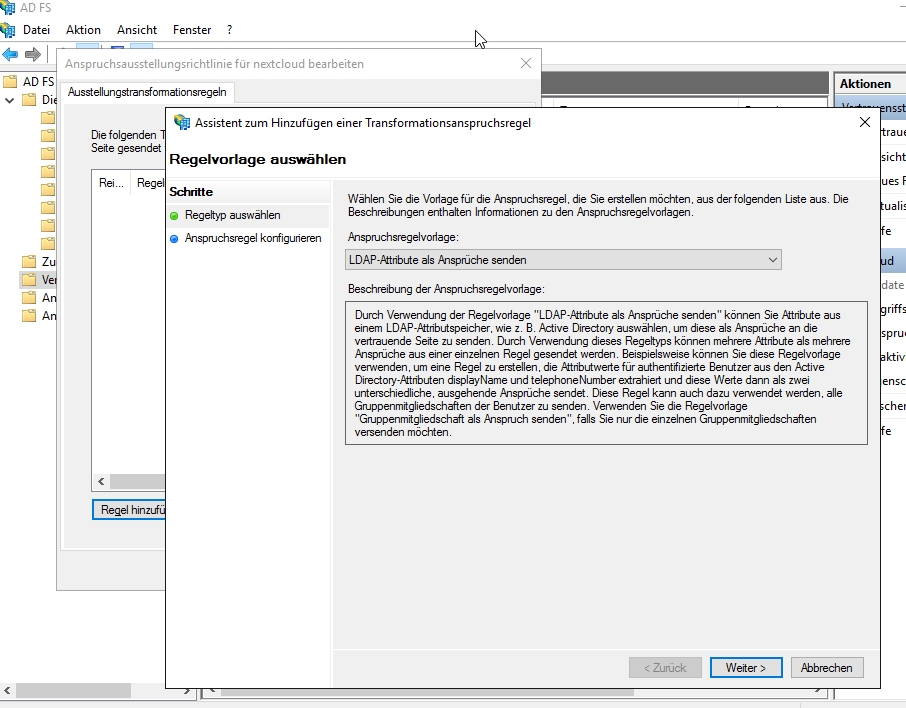
Click OK. Next, right-click on your Relying Party Trust and configure even more stuff:
Final result:
Click OK.
Good News: You’re done on the Windows side.
Step 10: Configure Nextcloud for AD FS Authentication
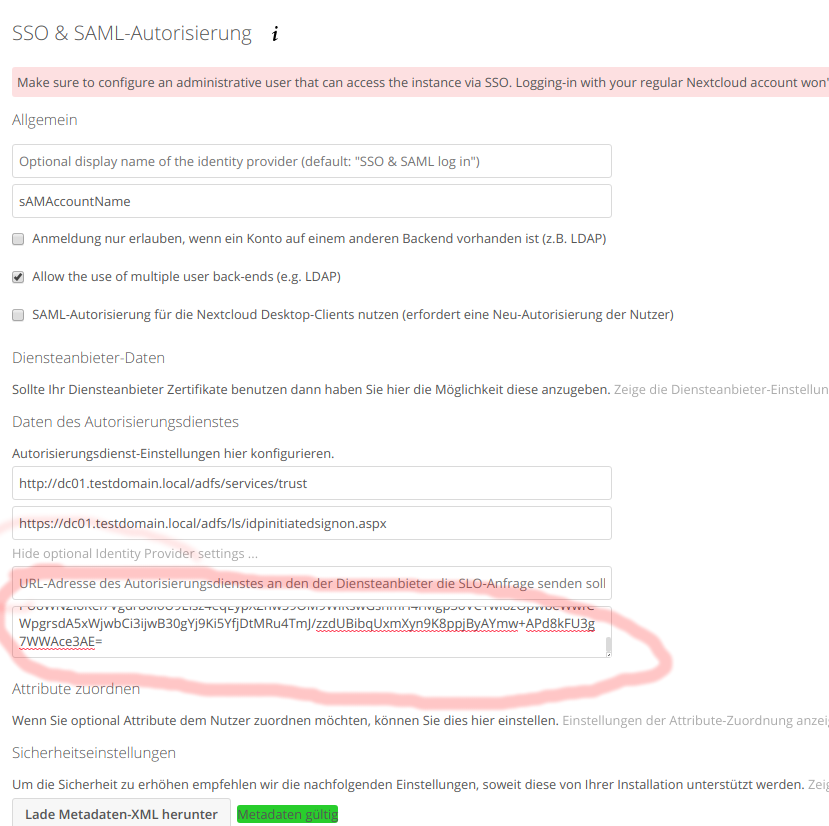
Remember when we left all the fields in the Nextcloud SSO & SAML configuration blank? This is where we configure stuff like so:
The most important setting is „Allow the use of multiple user backends“. If you don’t set this, you will ONLY be able to login in via SAML. That means, if anything doesn’t work (hint: it won’t, yet) – you’re screwed. Check that box NOW.
Also note there is no save button. If your configurator menu says „Metadata invalid“, just ignore, navigate away (to your owncloud files for example) and go back to the SAML configurator. The warning should be gone now.
The URLs you type in the boxes are more or less god-given and just tell the owncloud installation where to redirect your clients when they want to sign in via SAML, and whom to trust for auth stuff.
Now.
Whenever AD FS authenticates a user for you, it will carry over a public X.509 certificate. We have to figure that string out, so here’s what we’re gonna do.
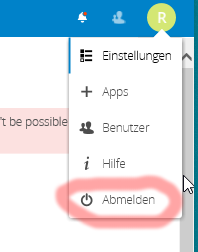
First, log out.
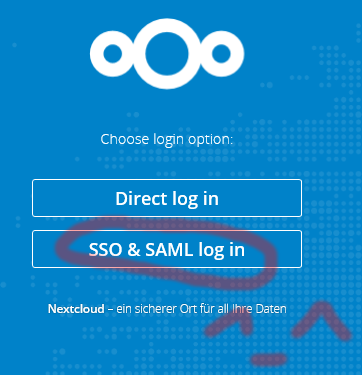
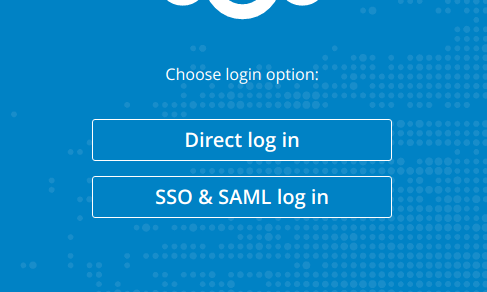
Second, click the new login option:
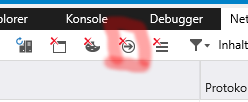
Don’t be temped to click it yet. Press F12, and depending on your browser, click the network tab. We have to preserve the entries as the browser navigates away from pages, in Chrome you need to check the „Preserve log“ checkbox, in IE it’s this button:
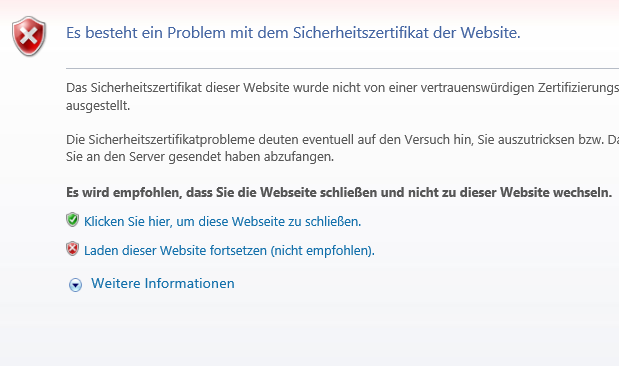
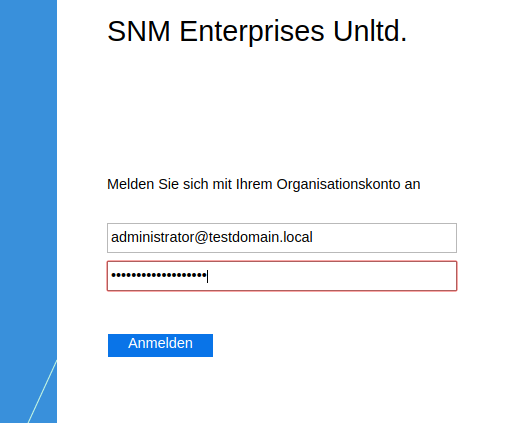
Now click the SAML login button, Ignore the SSL certificate warning you might get.
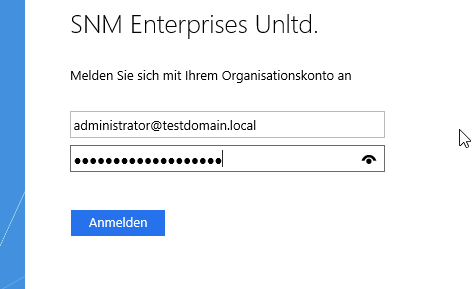
Log in to your domain.
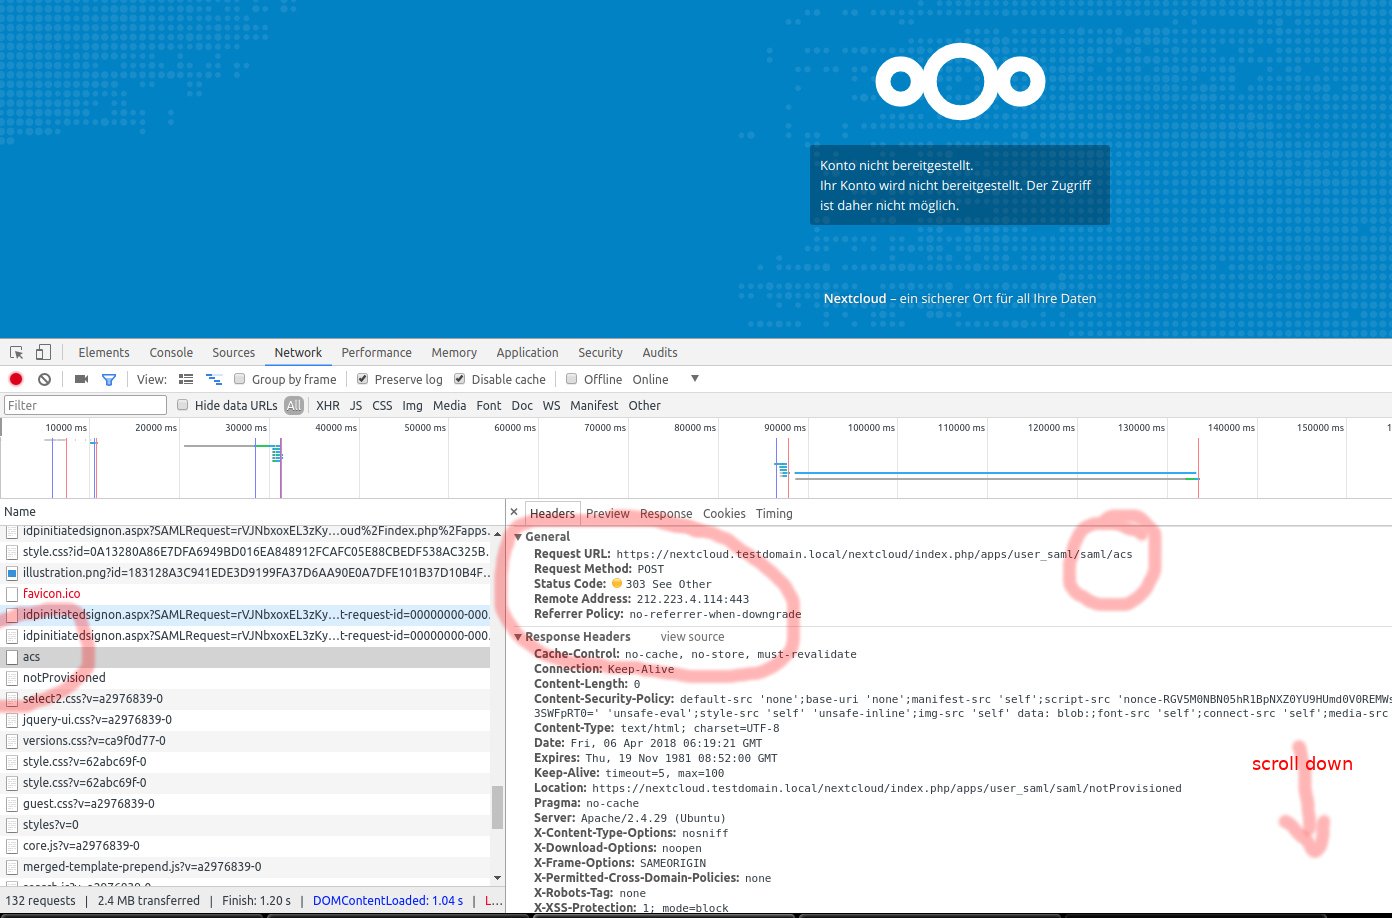
You will be presented with an error saying „Account not provisioned“, but that’s perfectly OK.
In your browsers network tab, locate the POST request against your nextcloud server vor resource „acs“ as shown below:
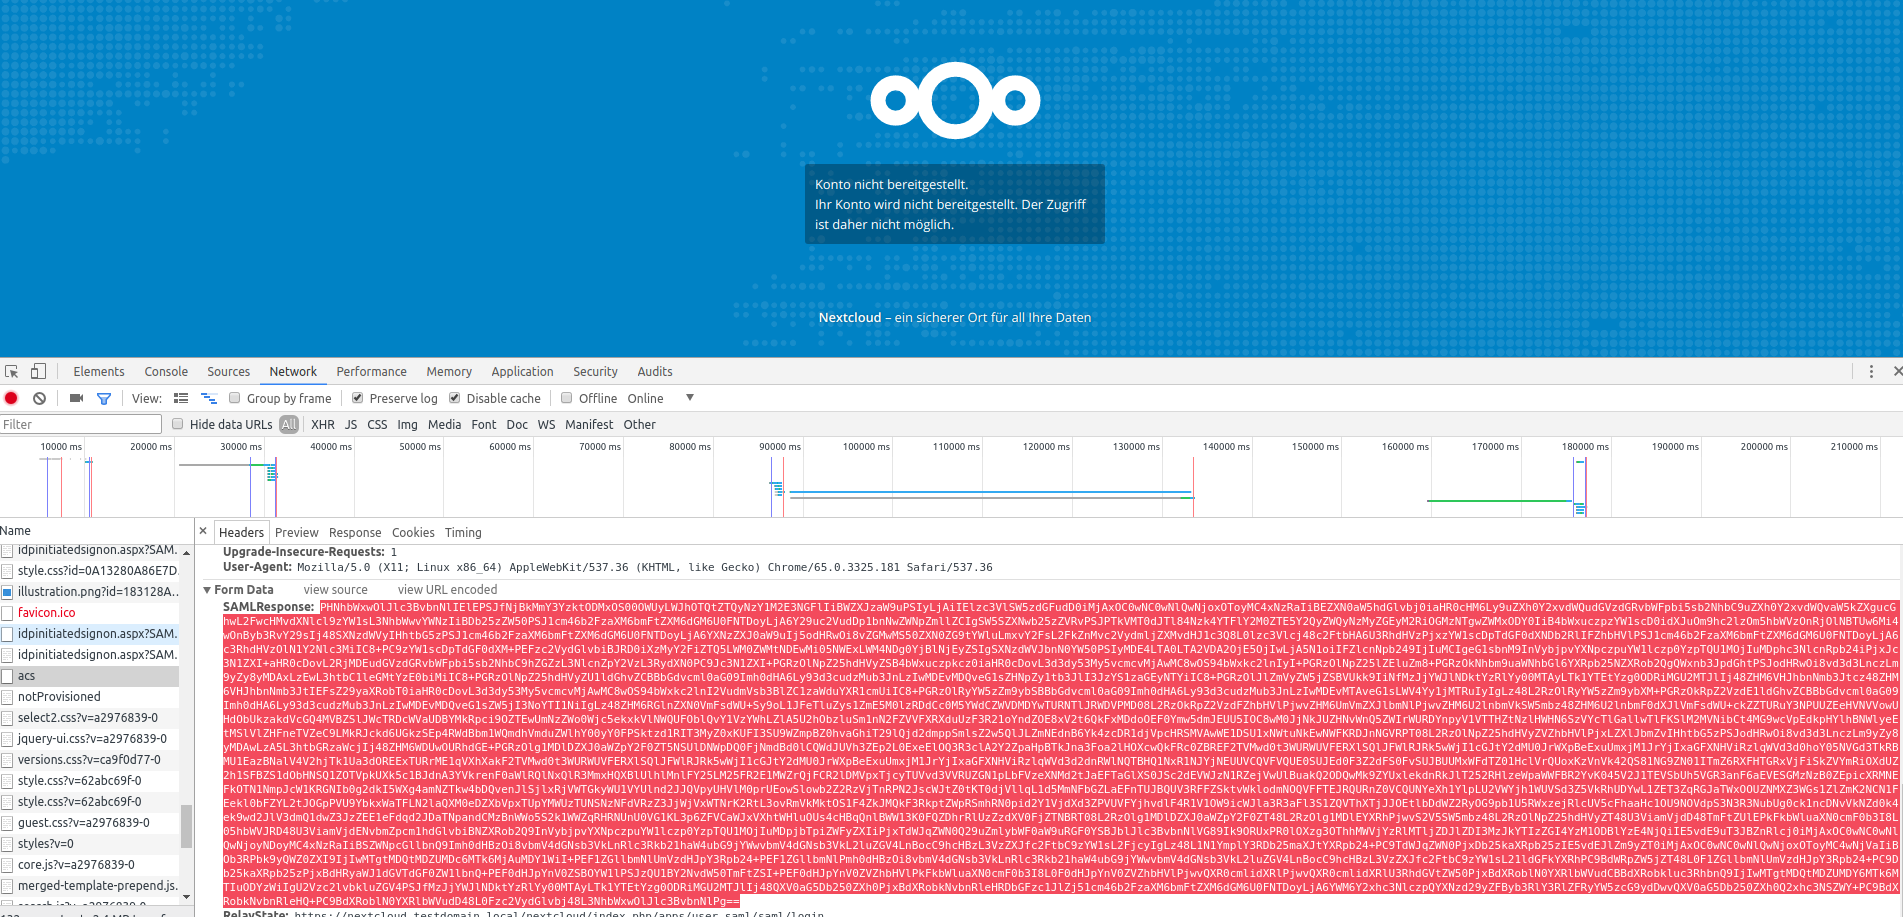
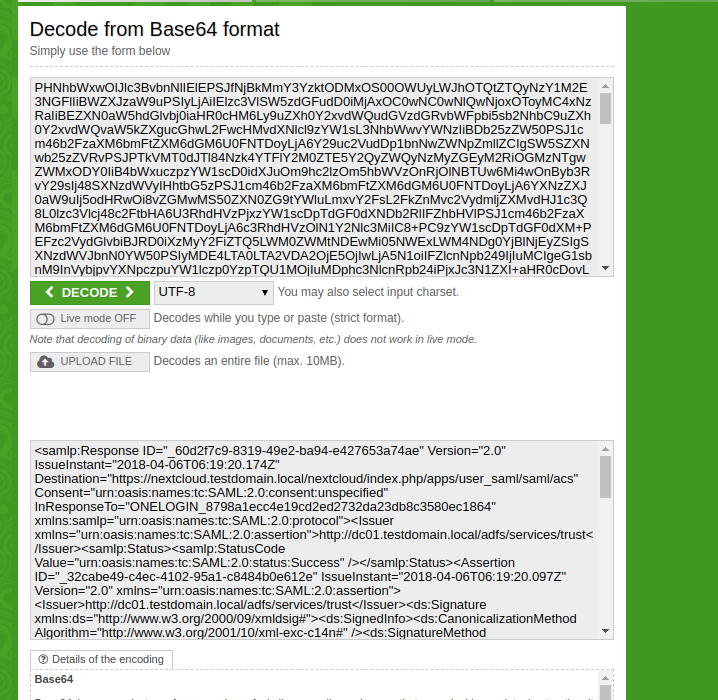
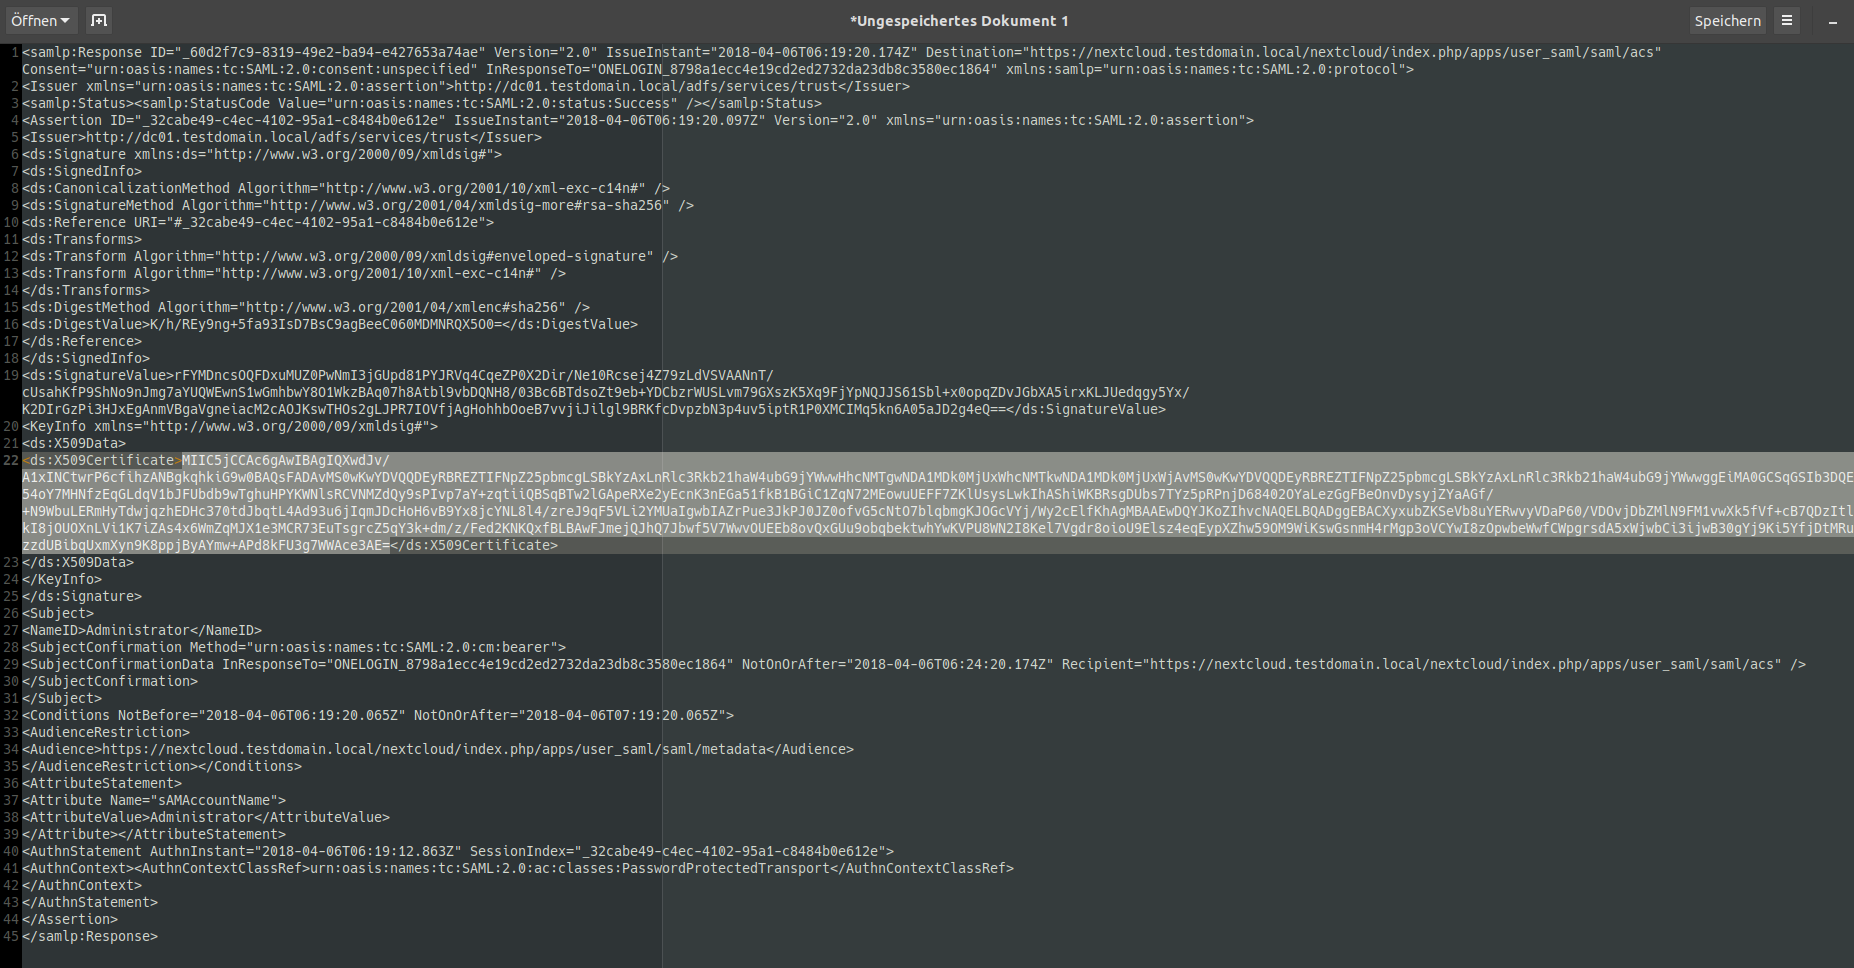
Scroll down, copy the SAML Response Form data (it MUST end with == signs) and paste to a base64 decoder (you can find plenty of ‚em online).
Now, in your favourite text editor, dissect the oneliner and search for the content of the
<ds:X509Certificate>
</ds:X509Certificate>
Block. It should (?) start with MII…
Copy that over so you’re only left with that text.
Now, back to the nextcloud SSO configuration (log in as LOCAL user with administrative privileges), enter the string into the corresponding field as shown below:
Now log out from nextcloud. Try logging in again from „SSO & SAML Login“. Cross your fingers, aaaand…..
Some hints
- AD Users are shown/created over in nextcloud as soon as they Log In (!) for the first time.
- Leave regular login enabled and keep a local administrator, just in case you lose SAML connectivity for some reason.
- Secure your SAML Endpoint by a firewall! Do it NOW!
- UN WINDOWS UPDATES, all of them, on a regular basis!
- /var/www/html/nextcloud/data/nextcloud.log is your friend. It logs all the SAML things.
Update #1
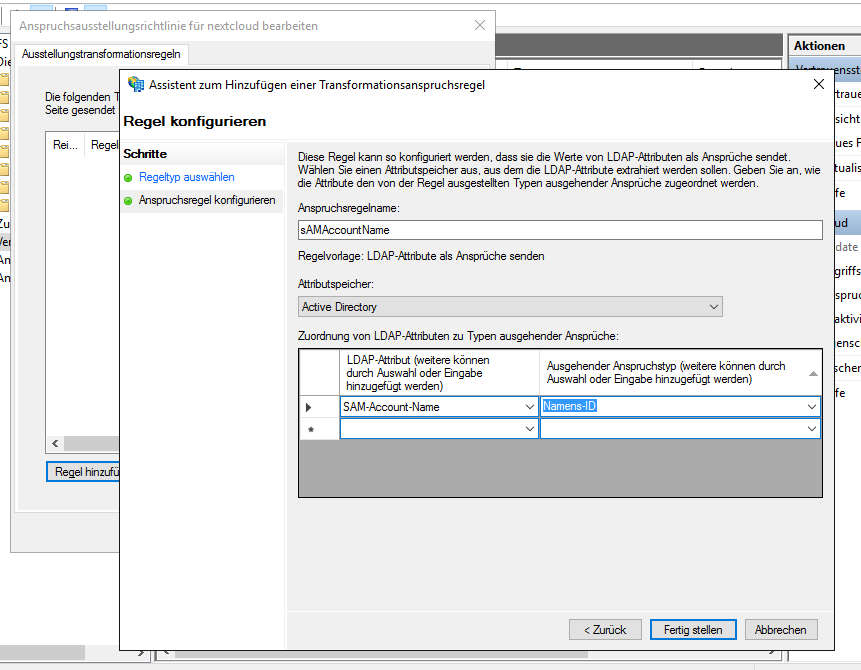
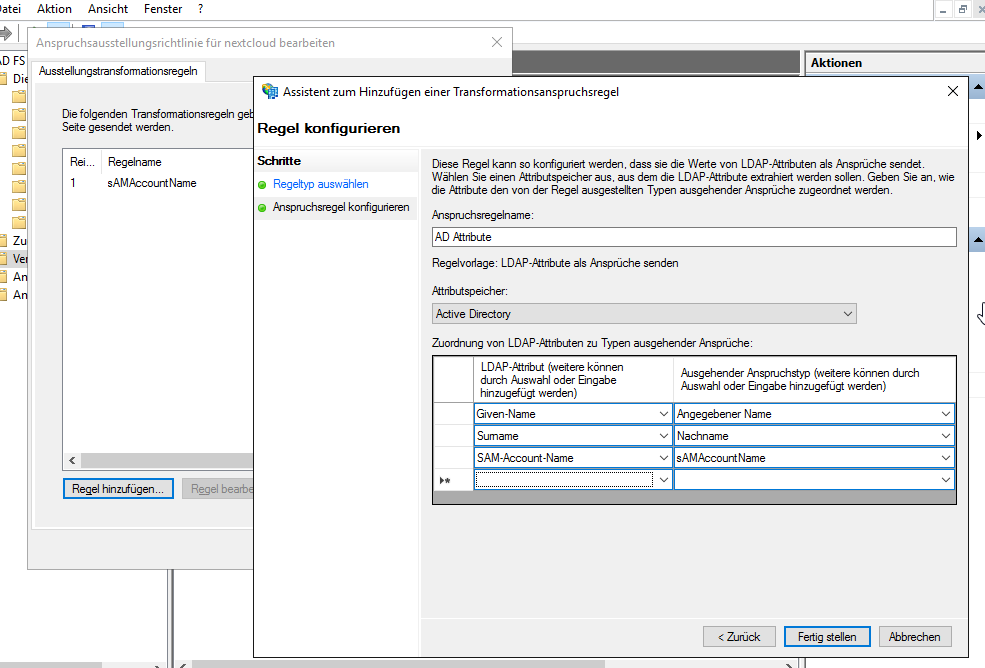
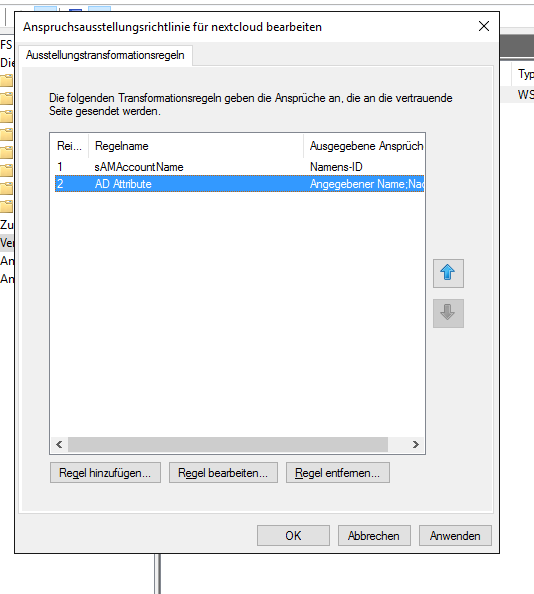
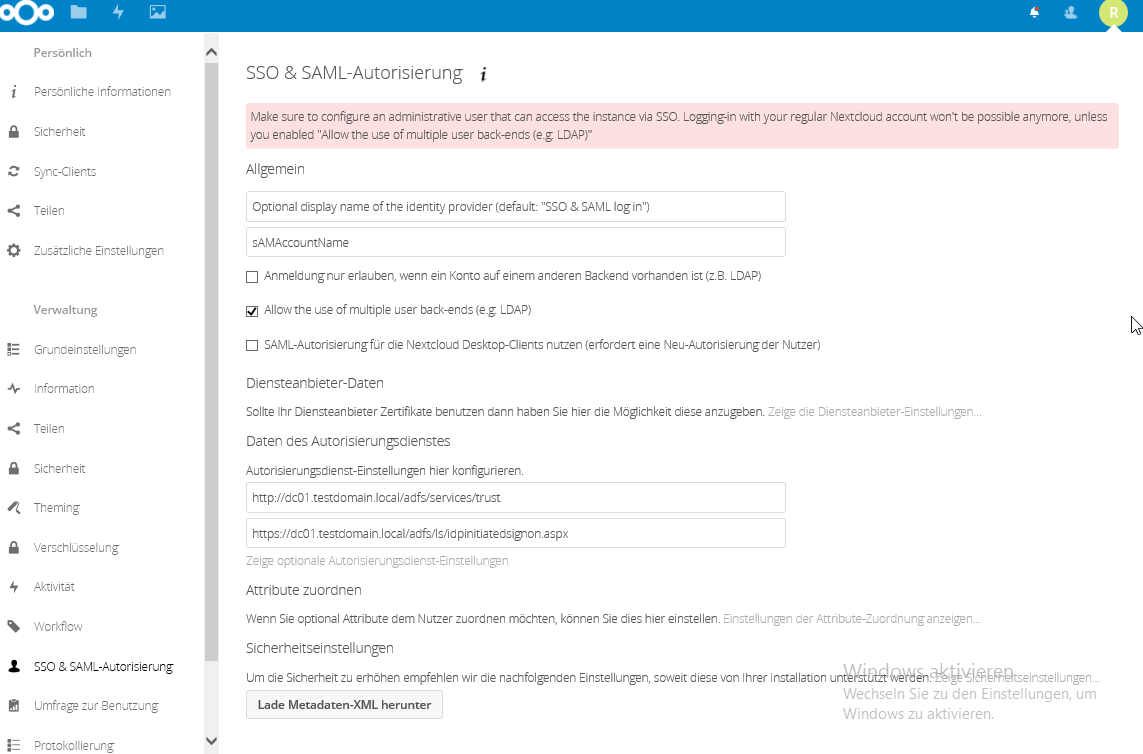
On 2019-05-21, Sebastian G. added that he was able to add the email addresses to the nextcloud trust. This screenshot shows how he achieved this. Thanks, Sebastian!











Awesome guide, almost got it working.
It unfortunately keeps saying „Account not provisioned. Your account is not provisioned, access to this service is thus not possible.“
Care to share your complete page of the SSO & SAML authentication (including the security settings)? ADFS has been set up exactly as you describe.
Maybe good to know is that I have LDAP auth also setup (and working)
Turned out I had set certificate keys under ‚Service Provider Data‘. Clearing these out and setting the iDP identifier to http instead of https fixed it. I can now use ADFS.
You’re the hero of the day!
Thanks, i’m glad it helped you 😉
Thanks for sharing this is awesome! Couldn’t make it work though because Nextcloud’s metadata points to the assertion thingy with an http:// scheme and ADFS refuses non-https:// assertion…um..points? I forgot the name. The farthest I got was to the „you don’t have an account here“ or something like that. I really helped me understand better what does what about federation so thank you!
Hi all of you.
I spent a day trying to configure it for my corp. But i always receive a message “ account not provisioned“.
Ive set up ADFS and Nextcloud as mentioned below. Please need your help.
Nextcloud redirect properly to ADFS but when i enter my creds nextcloud return the message “ Account not provisionned, acces to this service is thus not possible“
Hey Marcelin,
have a look at the above comment from Délano from 8. Mai 2018:
——– quote ——–
Turned out I had set certificate keys under ‚Service Provider Data‘. Clearing these out and setting the iDP identifier to http instead of https fixed it. I can now use ADFS.
——– end quote ——-
maybe that is also the case in your setup?
HI ALL,
Everthing run perfectly, the mistake was due to WS 2012r2. Run ADFS on WS2016
Thanks all, and special thanks to Florian.
Works great! Still trying to figure out how to get the new groups attribute to work with ADFS.
Any idea?
This is brilliant, thanks so much!
Hi Guys,
i have the same problem
+++
It unfortunately keeps saying „Account not provisioned. Your account is not provisioned, access to this service is thus not possible.“
+++
Already i check my settings for Service Provider Data.
+++
Everthing run perfectly, the mistake was due to WS 2012r2. Run ADFS on WS2016
+++
Can you explan what was your fault?
> Everthing run perfectly, the mistake was due to WS 2012r2. Run ADFS on WS2016
–> i think he was just trying again with ADFS on Windows Server 2016 instead of Windows Server 2012 R2.
I also tested with 2016 and would strongly recommend you use WIndows Server 2016 exclusively.
Thank you very much for this Tutorial! Thinked about 1 Month on the Concept to hooku up AD, Azure AD and LDAP together with NextCloud and Office365 to habe Enterprise and Standard User Usecases for building a Plattform to work together all over Europe.
Also your style to write this fu** Manual, which is very technically… great!
Thanks for helping me with my solution design!
Greets from Austria 😉
Nice to hear that ? Thanks!
Hallo Florian,
das ist echt eine super tolle Anleitung !!!!! Tausenddank !!!!
Ich habe das ganze gerade unter Windows Server 2019 gemacht und einer Nextcloud von einem Cloud-Provider. Läuft noch nicht so ganz, aber klärt sich vielleicht morgen noch…..
Das musste ich noch fixen, damit die SSO-Login Seite hoch kam;
Fehler MSIS7012
Lösung gefunden unter
https://social.technet.microsoft.com/Forums/en-US/7370b5c9-6195-427a-99a8-
c605a8b21b48/what-are-potential-reasons-causing-msis7012-error?forum=ADFS
[…]
You can solve the error executing from powershell logged in the primary ADFS server the below command:
Set-AdfsProperties -EnableIdpInitiatedSignonPage $true
Eine Sache hätte ich noch….könntest du bitte nochmal erklären, wie ich nur eine einzelne AD-Sicherheitsgruppe für die Berechtigung der Anmeldung an der Nextcloud konfiguriere ?
Nice writeup.
This triggerd me to put the Microsoft part (ADFS) into a powershell script.
I probably couldn’t remember all the steps,once i have configured it first time.
The script should make it possibel to transferthe job to / on new servers.
I have uploaded an initial version at
https://github.com/rzerres/SAML-SSO-ADFS
comments and updates are quite welcome.
Ralf
Hi. Thanks for the step-by-step instructions. Very appreciated. However, I was wondering if this tutorial was for version 14? Running version 15 seems to have issues. Do you have any ideas?
Sorry, I did not have to implement this with v15. Maybe I (or somebody else) can help if you specify what issues you are having. This article is read by quite a lot of people 😉
I have a problem can someone please help?
https://stackoverflow.com/questions/56342757/getting-error-while-trying-to-access-nextcloud-through-sso
I followed the steps in this article and could setup the integration successfully with ADFS 2016 (on NC 16).
However, the attribute mappings seem to be not working. I could not see the information from AD like Full Name, email address updated when NC user was created.
Has someone faced the same situation?
Was the External Storage with SMB working with Kerberos with this solution?
That was – at least in my situation – never tested
But TBH i’d just mount the storage in the nextcloud server transparently and set the data dir to somewhere in the mount point.
No reason to involve Kerberos/nextcloud auth.
Or even better: use NFS.
Pingback: Nextcloud Ad - User Authentication With Ldap — Nextcloud 12 Server ...
Hello, i am configuring sso and saml on nextcloud using adfs. And I’m getting this error when logging into a domain account like this:
https://help.nextcloud.com/t/error-account-not-provisioned/96753
please help me
Heey,
I’m not getting the SSO & SAMl login option. Do you have any idea why maybe?
At step 6, maybe you didn’t enable the plugin after installing it?
No it is enabled
The SSO & SAML is enable
I restarted Apache2
Restarted the whole Nextcloud server
Excellent blog you have got here… It’s difficult to find
quality writing like yours these days. I seriously appreciate people like you!
Take care!!
the desktop sync client always gives an error: „Access forbidden. Your login token is invalid or has expired“. In the Browser ADFS login works fine. Any idea how to get the desktop sync client running with ADFS SAML Auth?
AG, I had the same problem like you do. Solved it by updating SAMLController.php and UserBackend.php.
links:
https://github.com/nextcloud/user_saml/blob/master/lib/UserBackend.php
https://github.com/nextcloud/user_saml/blob/master/lib/Controller/SAMLController.php
Hi ,
first of All, this is really awesome portal where we can get the handy information.
i was also struggling with error “ Account is not provision“ and finally after seeing the post, this worked.
——– quote ——–
Turned out I had set certificate keys under ‚Service Provider Data‘. Clearing these out and setting the iDP identifier to http instead of https fixed it. I can now use ADFS.
——– end quote ——-
i only have one Question, do we need to open port 80 on ADFS from outside as this goes on http but not https..
this will be big issue if we need to open port 80
please suggest .
Thanks
Pingback: Nextcloud : Intégration d’une authentification SSO avec AD FS - slash-root.fr
Pingback: Nextcloud Ad Anmeldung - Online Login
i am not getting the sso & saml log in option any idea why?
Hello,
great guide, thank you. Does this also work with the desktop NextCloud sync app?
Thank you!